Creating Custom Roles
Roles are essential for managing access control in Unravel for Snowflake. When you create a role, you can specify how the role can access specific indexes, restrict a role to a subset of documents in an index, and restrict what document fields a user in this role can see. Once a role is created, users can be mapped to it, granting them the associated permissions. Unravel allows you to create custom roles that can be mapped to Snowflake roles with similar permissions.
Creating a Role
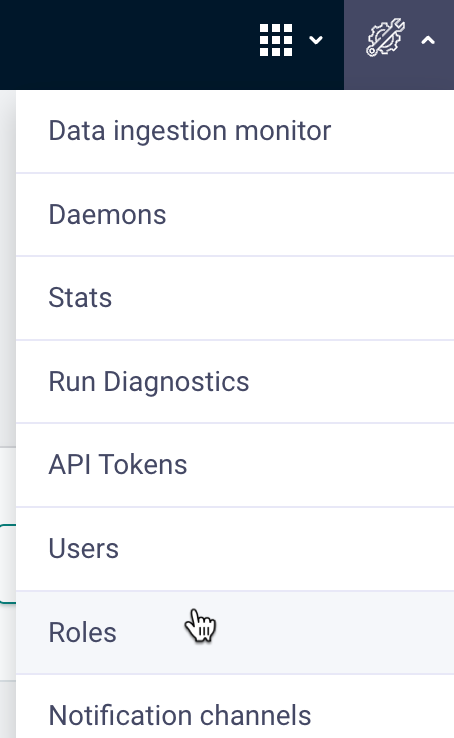
From the upper-right corner of the Unravel UI, click
 and select Roles. The Roles page opens.
Click Create Role. The Create Role page opens.
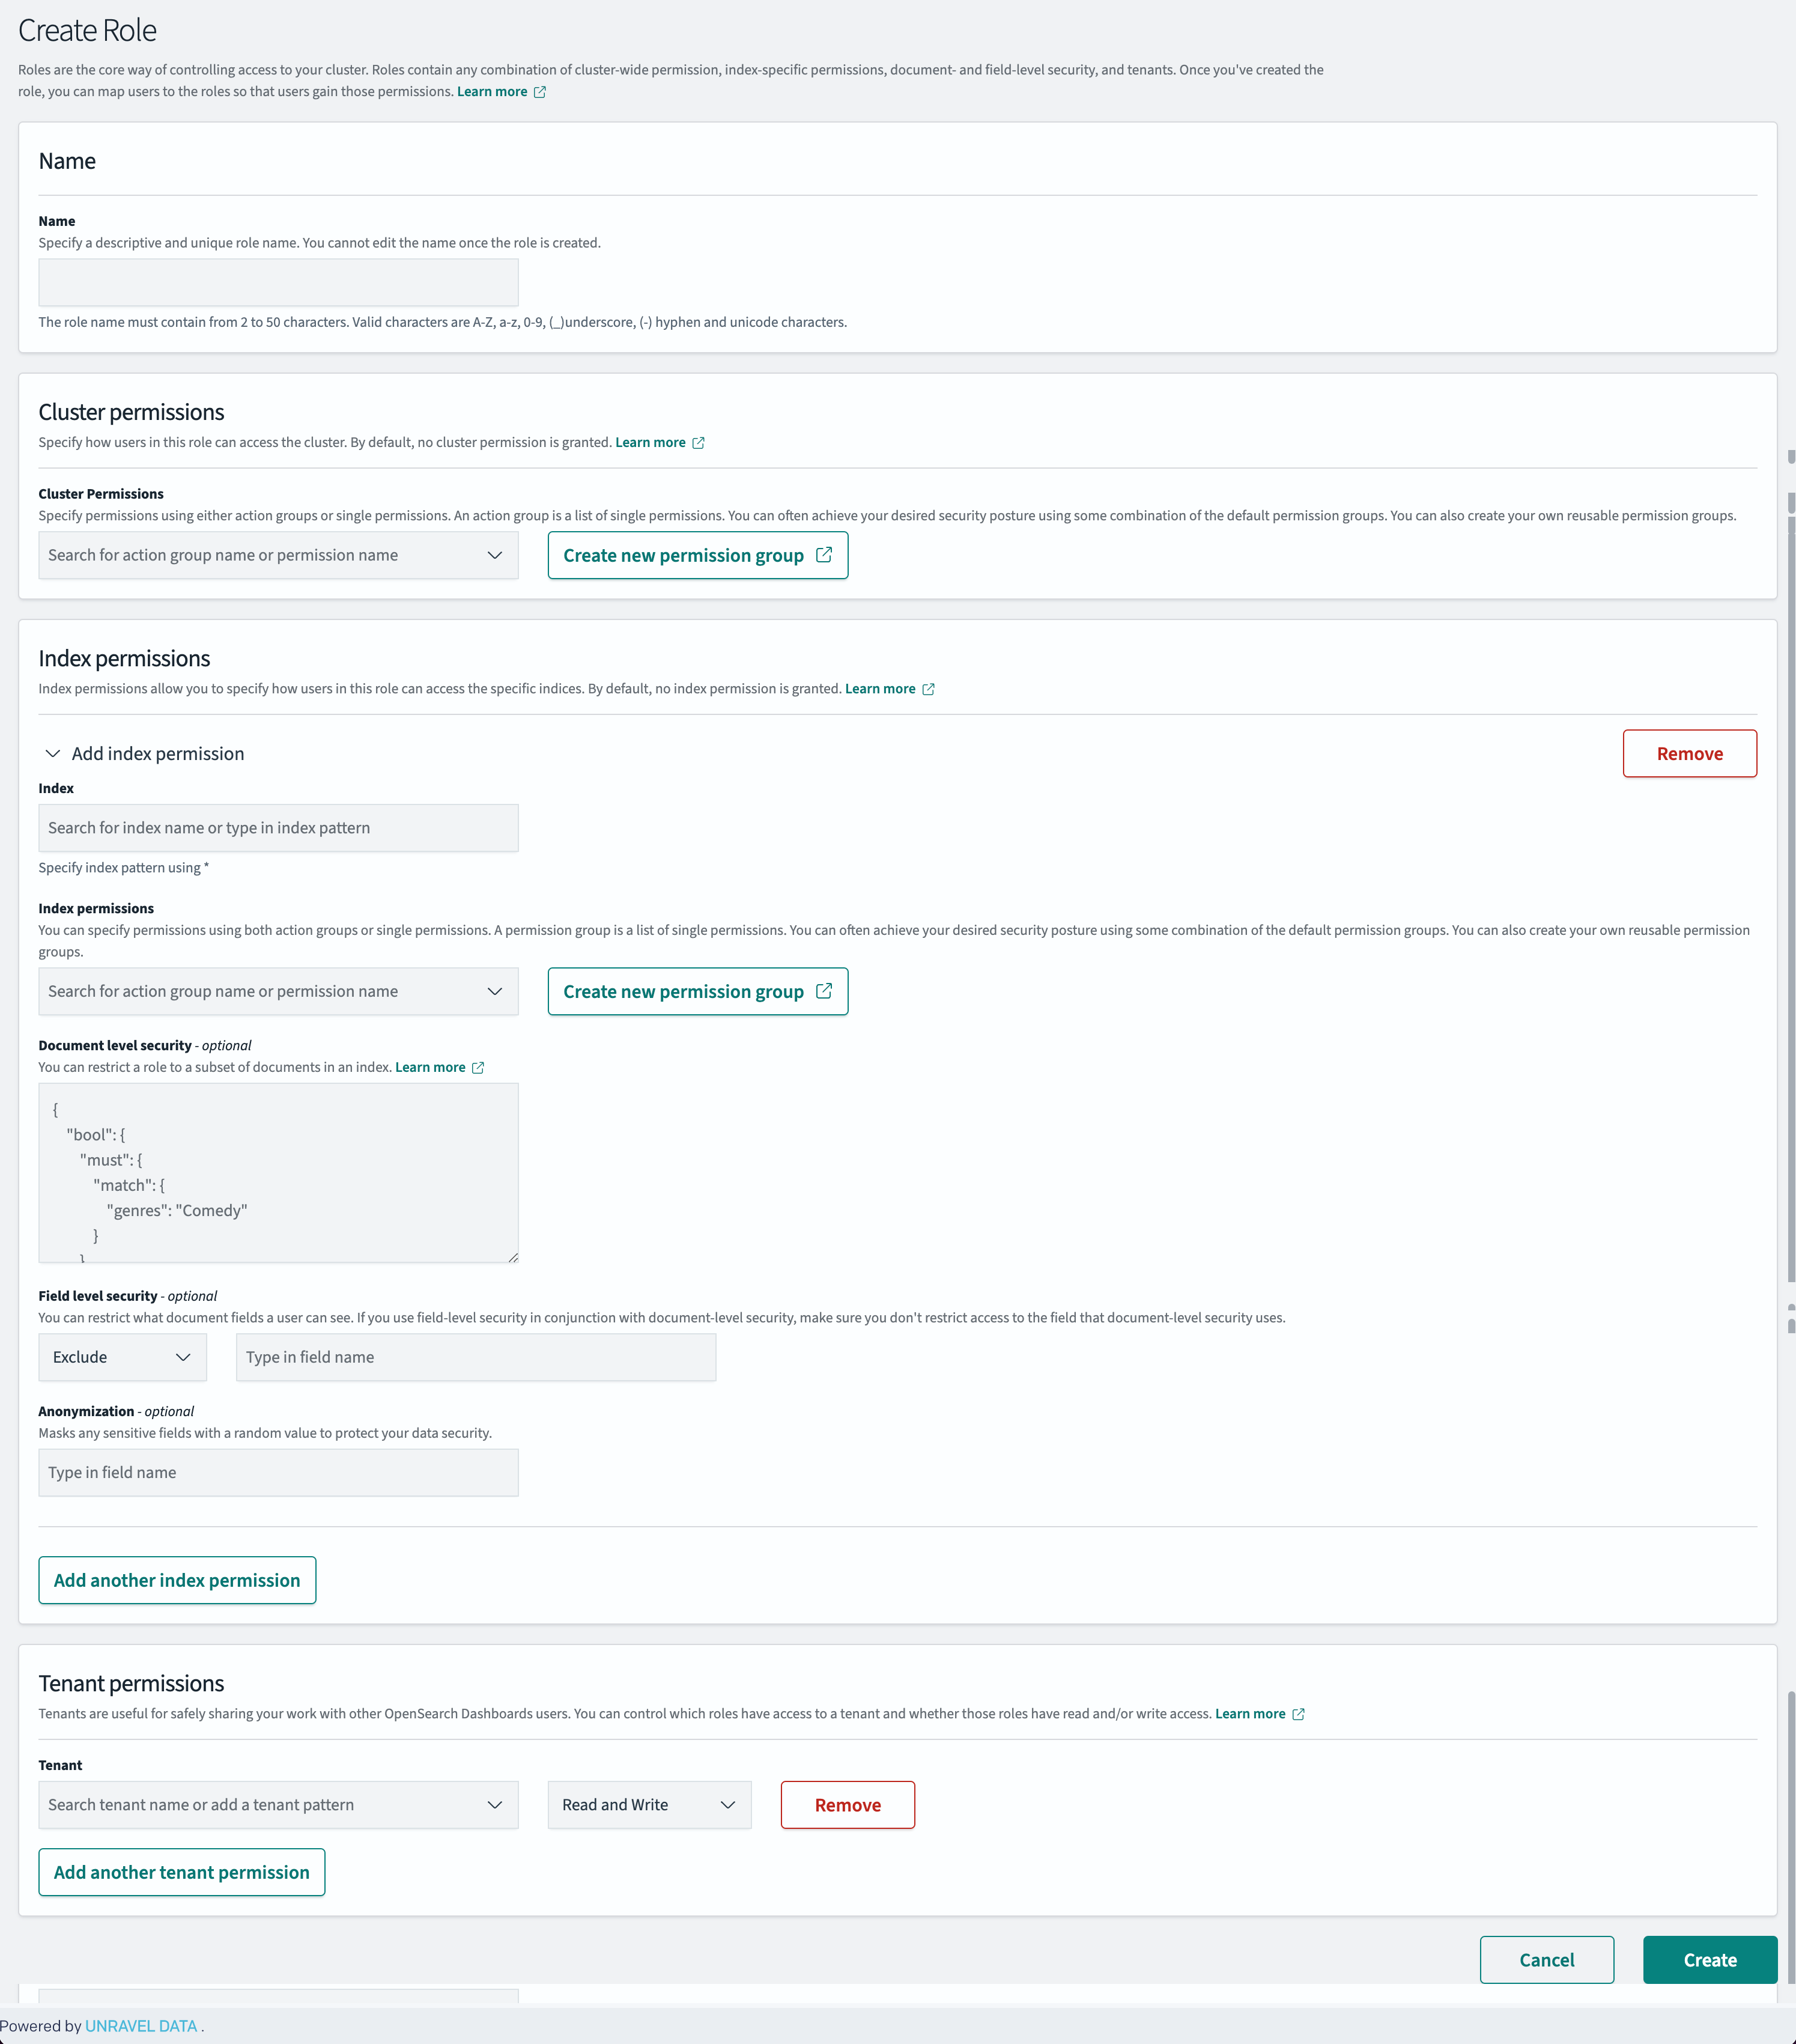
In the Name field, Enter the name of the custom role to be created. You can use a name similar to the roles in Snowflake.
Under Cluster Permissions, assign the required cluster permissions.
Under Index Permissions, add the required index permissions.
In the Document-Level Security section, specify a JSON query to filter the documents accessible to users with this role. For more details on how to specify the Document-Level Security, refer to this section.
Click Create to create the custom role.
Document-level security allows you to restrict access to specific documents within an index, ensuring that users only see the data relevant to their role. This is essential for managing access to sensitive data based on user roles and Snowflake entities such as accounts, warehouses, and user roles.
The following are some examples of the JSON queries:
The following query restricts users to documents based on account and role:
{ "bool": { "must": [ { "match": { "acct_id": "GDB63908.us-east-1" } }, { "match": { "user.role": "PLATFORM_OPS_ROLE" } } ] }
}
acct_id restricts access to documents from a specific account.
user.role ensures that users only access documents relevant to their assigned role.
In this example, document-level security is applied to restrict access to data within a specific warehouse:
{ "bool": { "must": [ { "match": { "acct_id": "GDB63908.us-east-1" } }, { "match": { "compute_name": "PLATFORM_OPS_WH" } } ] }
}
This configuration limits User’s access to data within the PLATFORM_OPS_WH warehouse for the specified account.
Map a user to a role
Note
From the roles page, click any role to view the users mapped to the role. Search for the required user from the Internal users column to view the roles mapped to any user. The roles mapped to the user are displayed under the role column.
From the upper-right corner of the Unravel UI, click
and select Roles. The Roles page opens.Search for the required role and click on the role name. The role page opens.
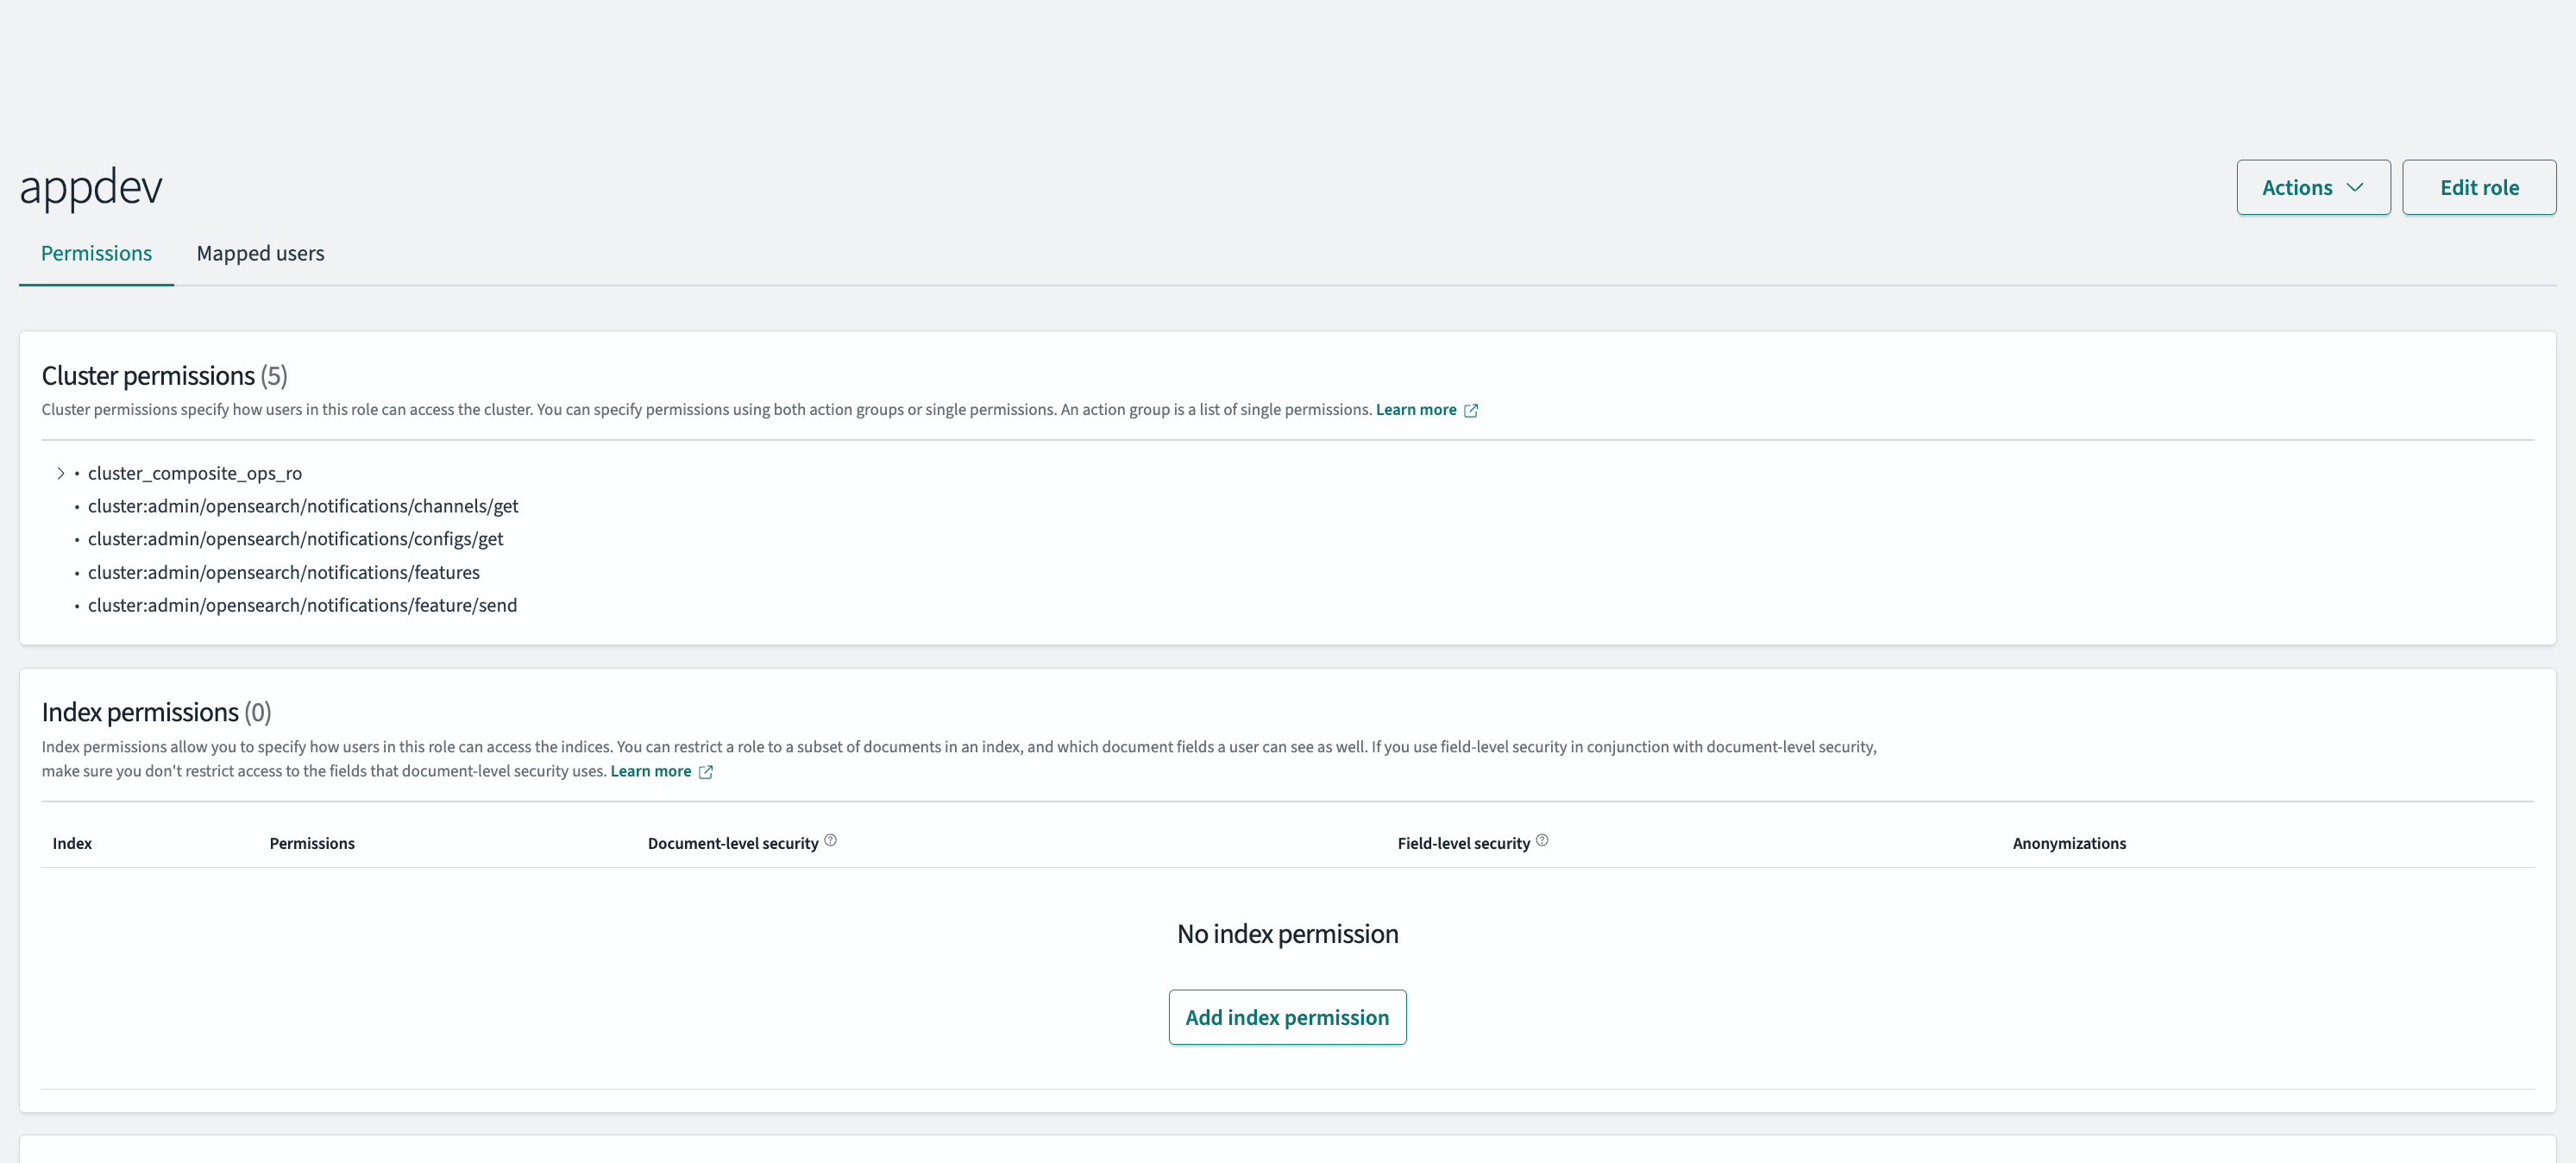
Navigate to the Mapped Users tab and click Manage Mapping. The Map user page opens.
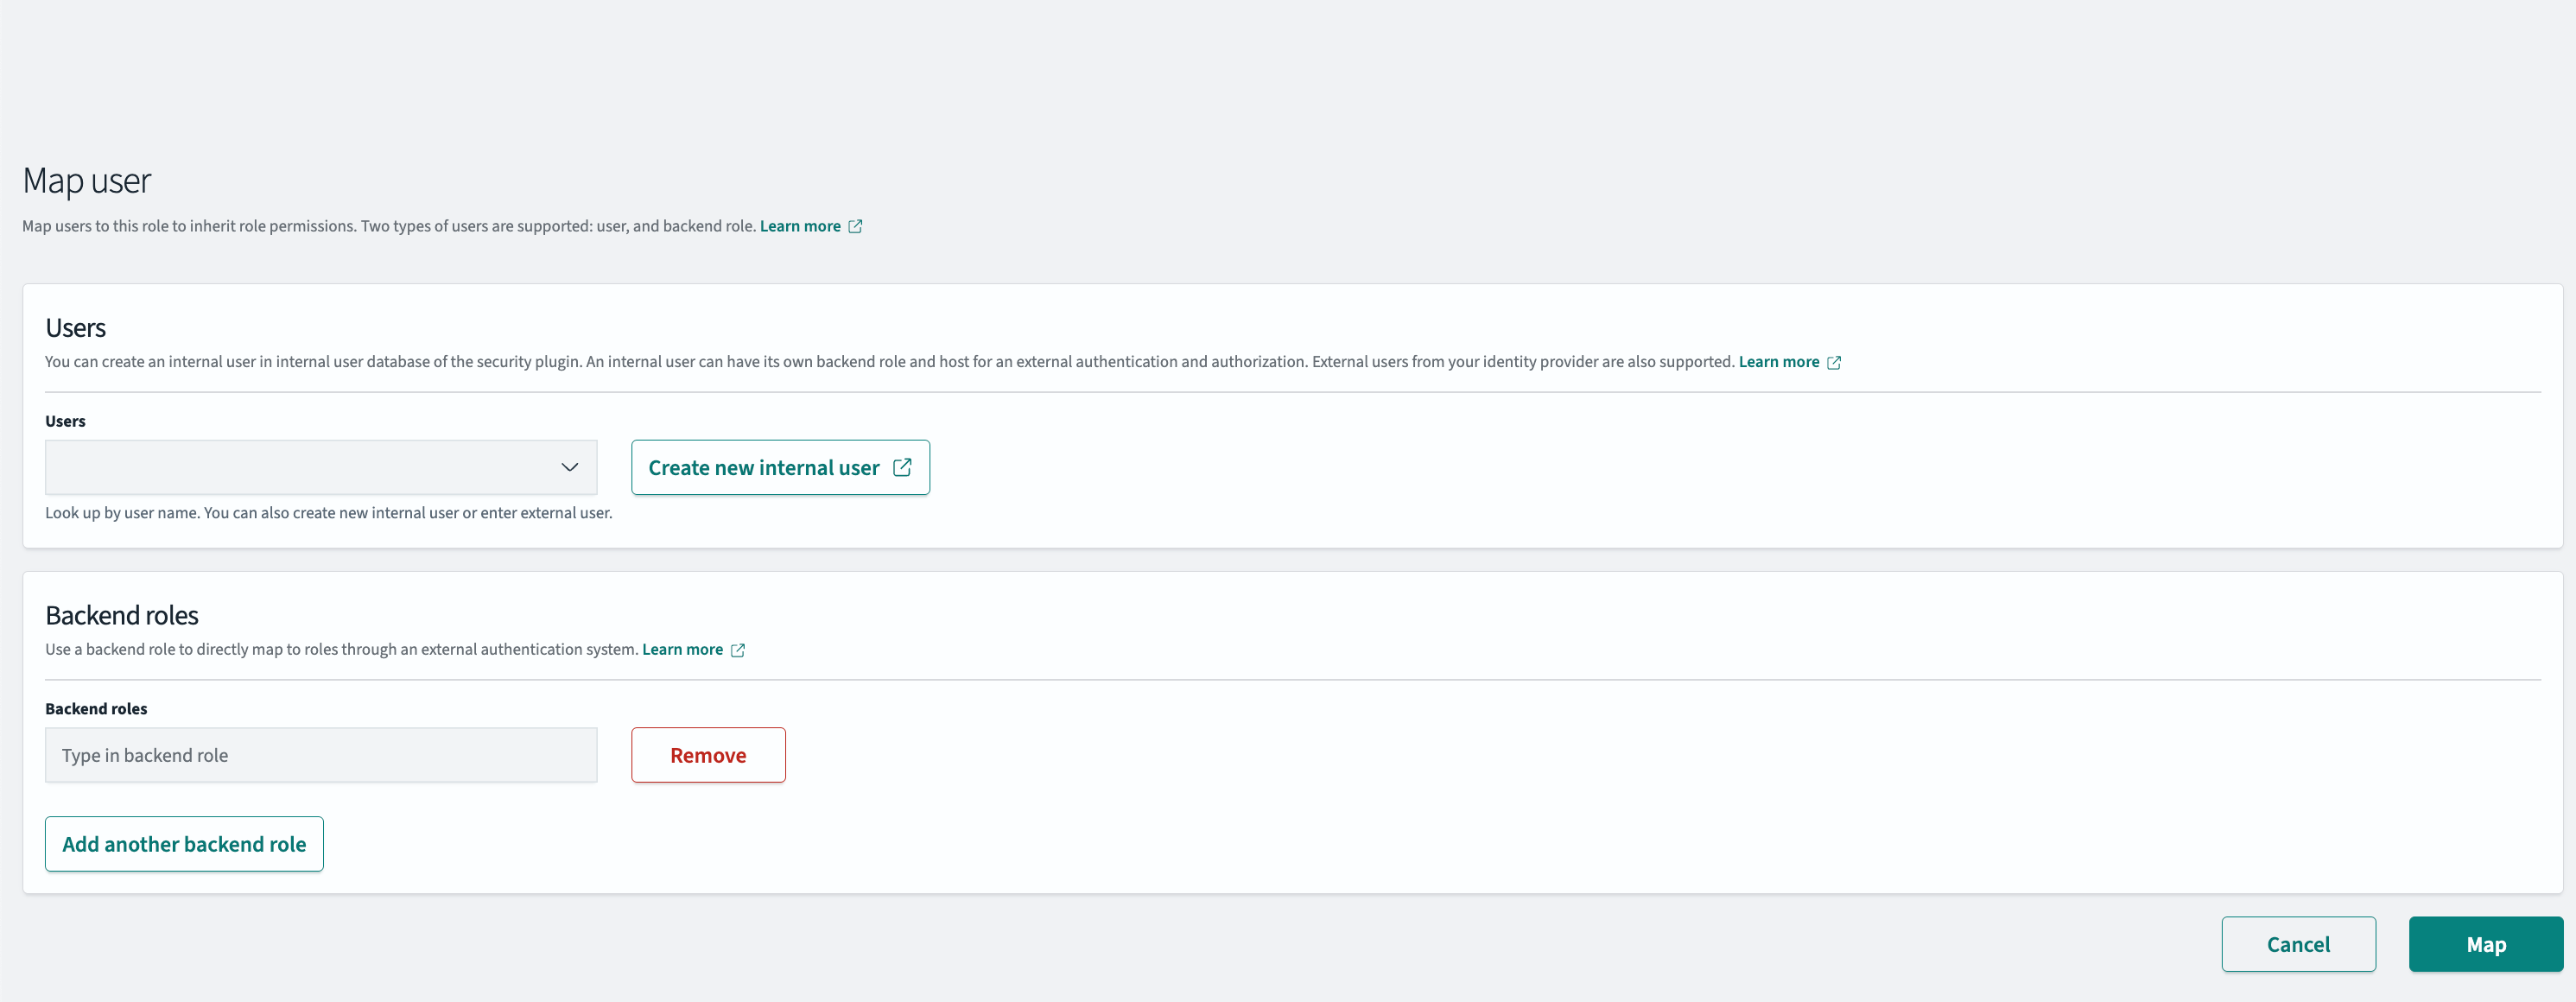
Select the required user and click Map. The user is mapped to the selected role.