BigQuery setup guide
Overview
Use this page to set up integration between your Google BigQuery projects and Unravel SaaS. Follow the steps to prepare the required Google Cloud resources, configure permissions, export billing data, and connect your projects to Unravel. You can use either the Information Schema method (default) or the Pub/Sub method to collect data.
Notice
The information schema method is now the default and recommended method.
Integration limits
Monitoring Projects | Up to 100 |
Admin Projects | 1 |
Billing Accounts | 1 |
Prerequisites for BigQuery SaaS setup
The integration of GCP projects with BigQuery consists of the following significant aspects:
Exporting the GCP billing data of the projects that you want to integrate with Unravel
Creating resources on GCP that are required for the integration.
This topic provides instructions on creating resources on GCP and setting the export of billing data, which are the prerequisites for integrating Unravel.
Setting up exporting of the GCP billing data for Unravel
You need the following to set up the exporting of the GCP billing data for Unravel:
Either the Billing Accounts Costs Manager role or the Billing Account Administrator role on the target Cloud Billing account.
BigQuery user role for the project in which you want to export the billing data.
Run the following steps to set up the exporting of the GCP billing data for the projects monitored by Unravel.
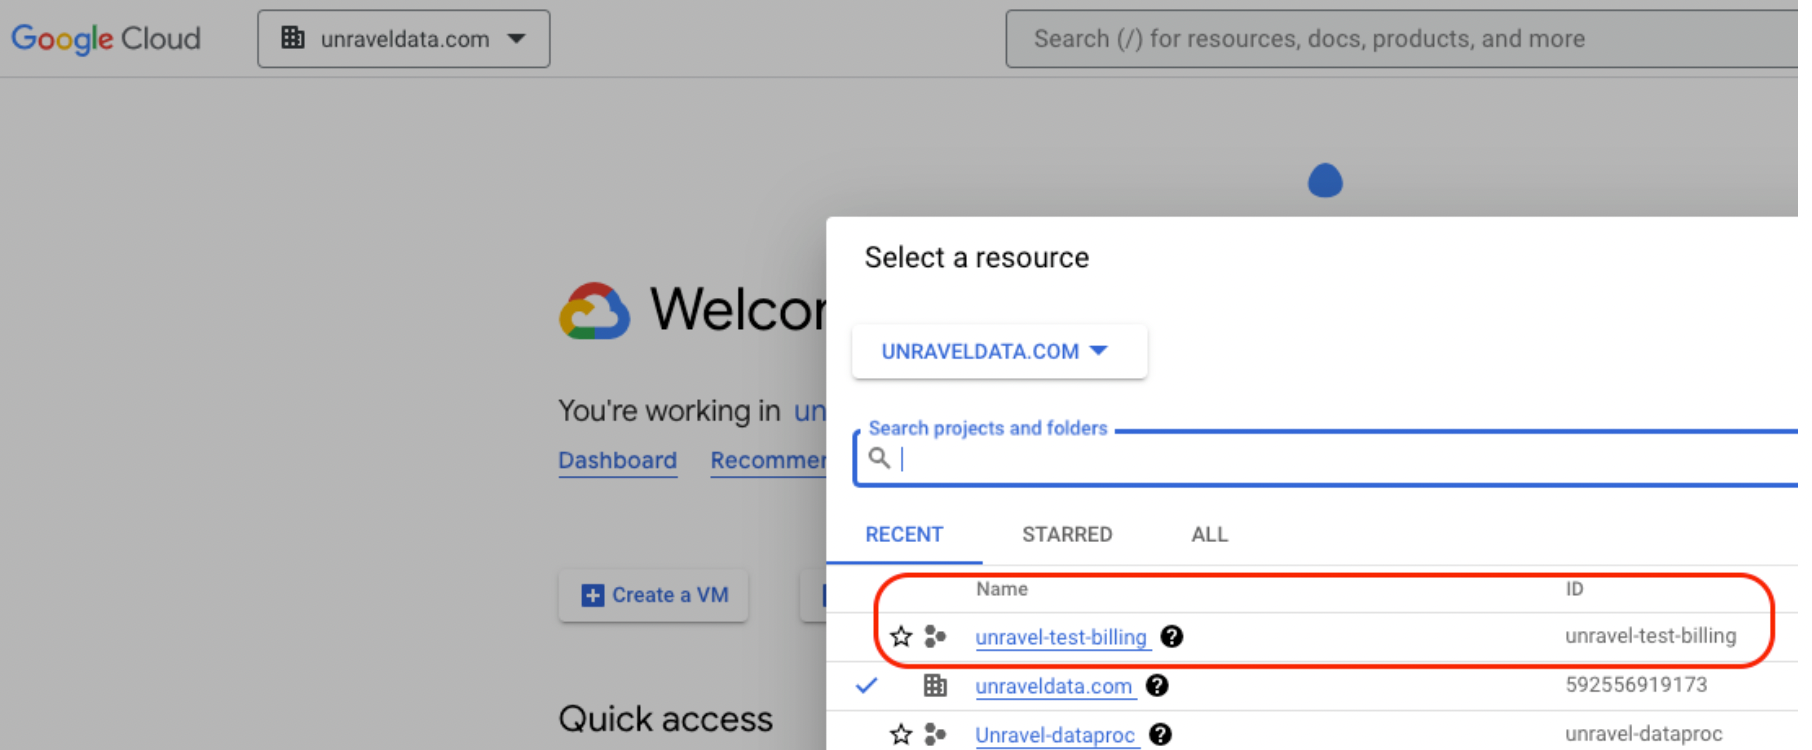
From the GCP console, choose a project to export the GCP billing data.
Note
Ensure this is also the same project that you want Unravel to monitor.
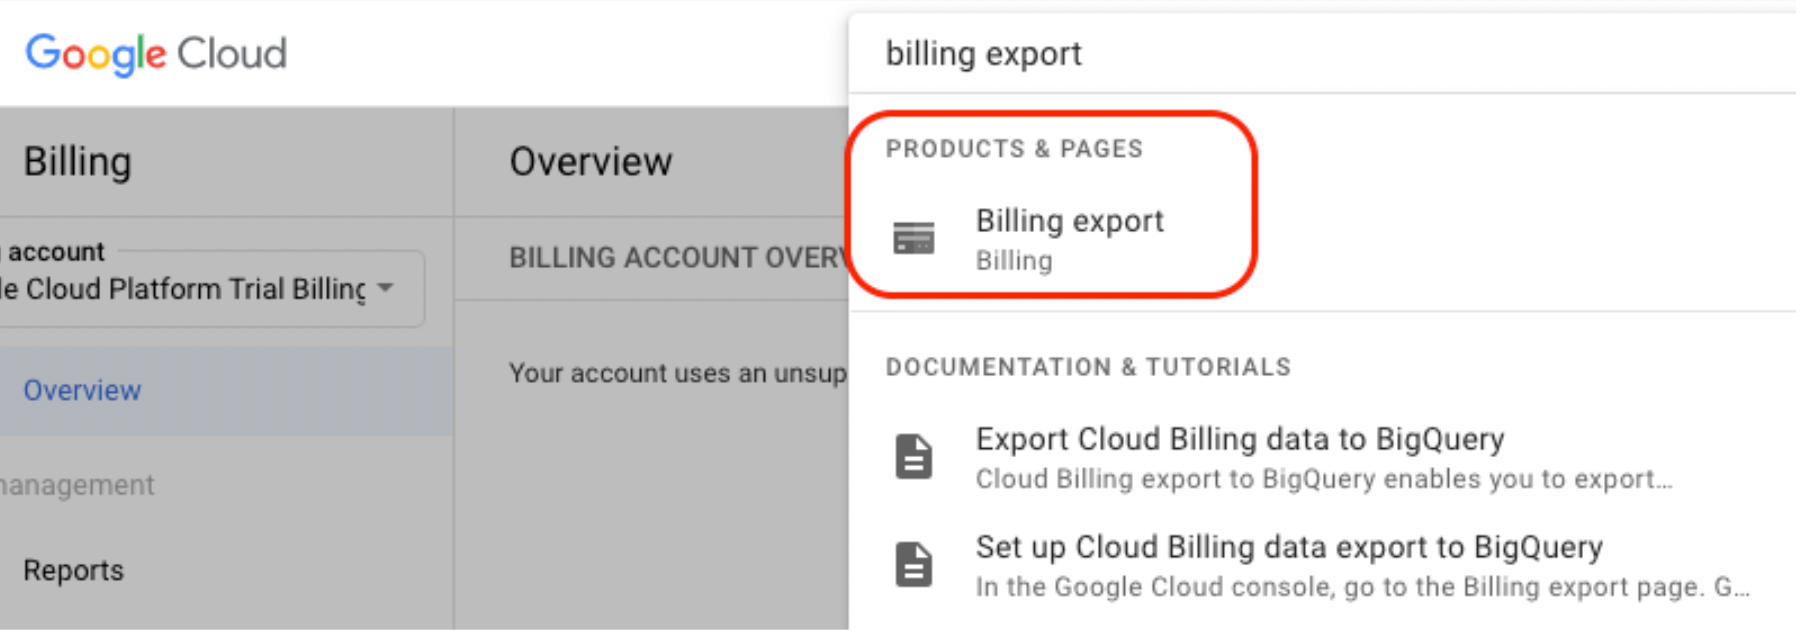
Export the GCP billing data of the billing account you want to integrate with Unravel to the chosen project. Do the following to export the billing data:
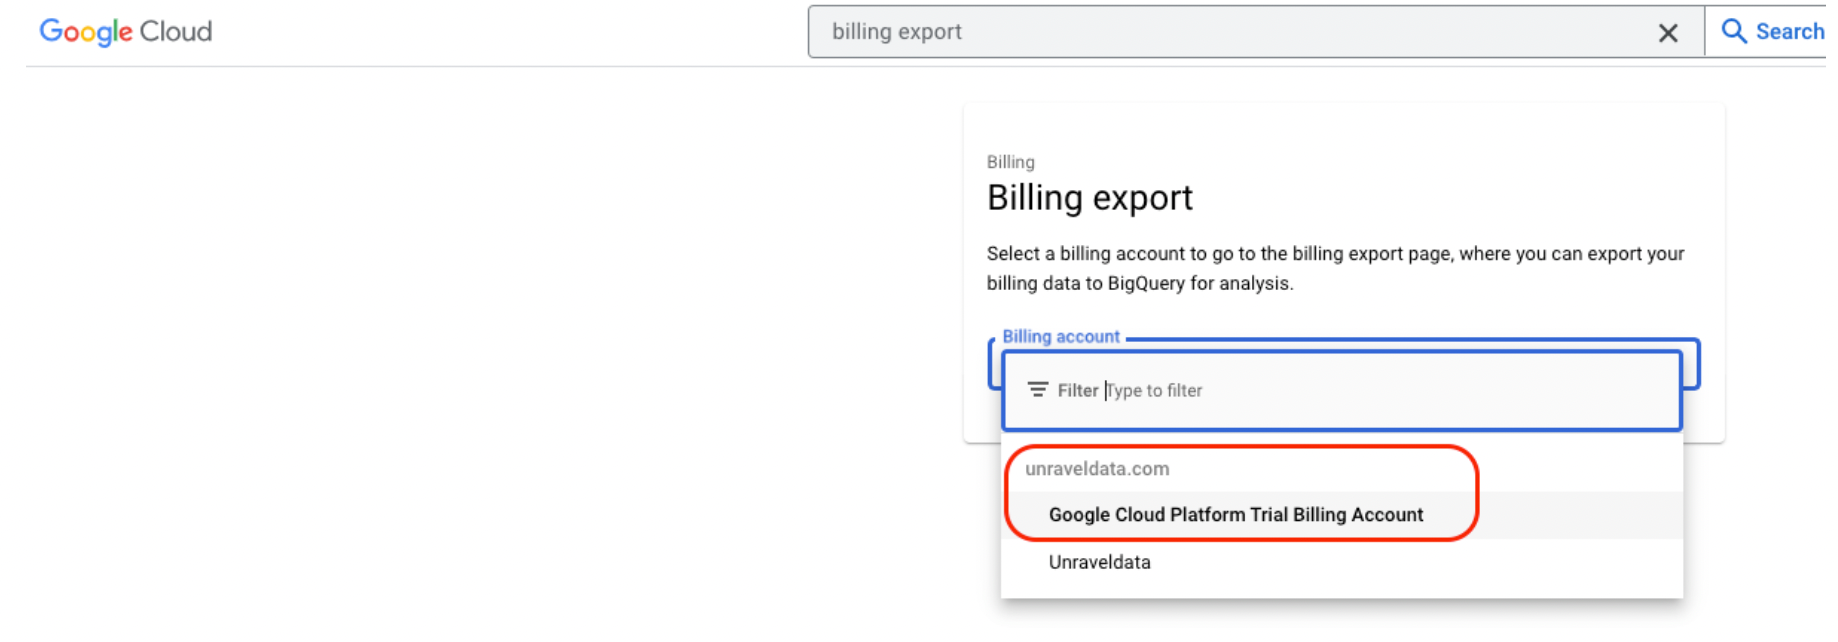
Search for the Billing Exports page and select the Cloud billing account you want to integrate with Unravel.
In the Detailed Usage Cost section, click the Edit Settings button and choose the project you selected to export the GCP billing data.
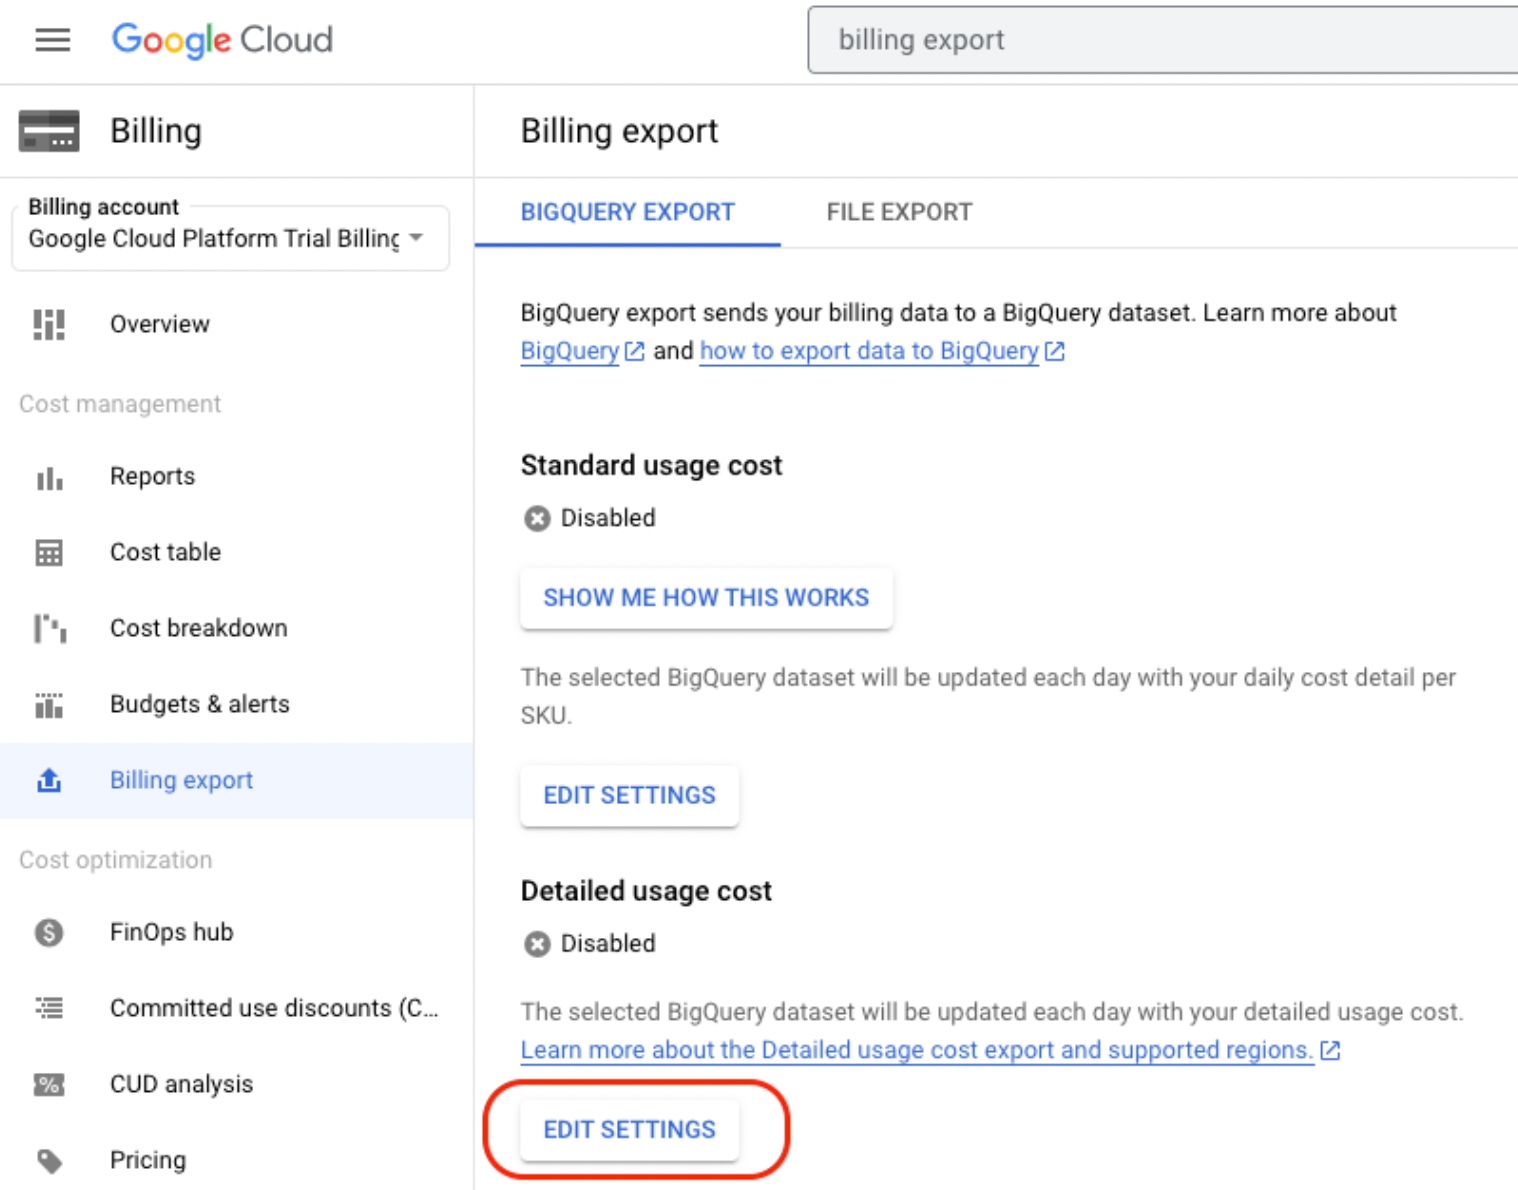
From the Dataset ID drop-down, select a dataset to export the billing data or create a new dataset.
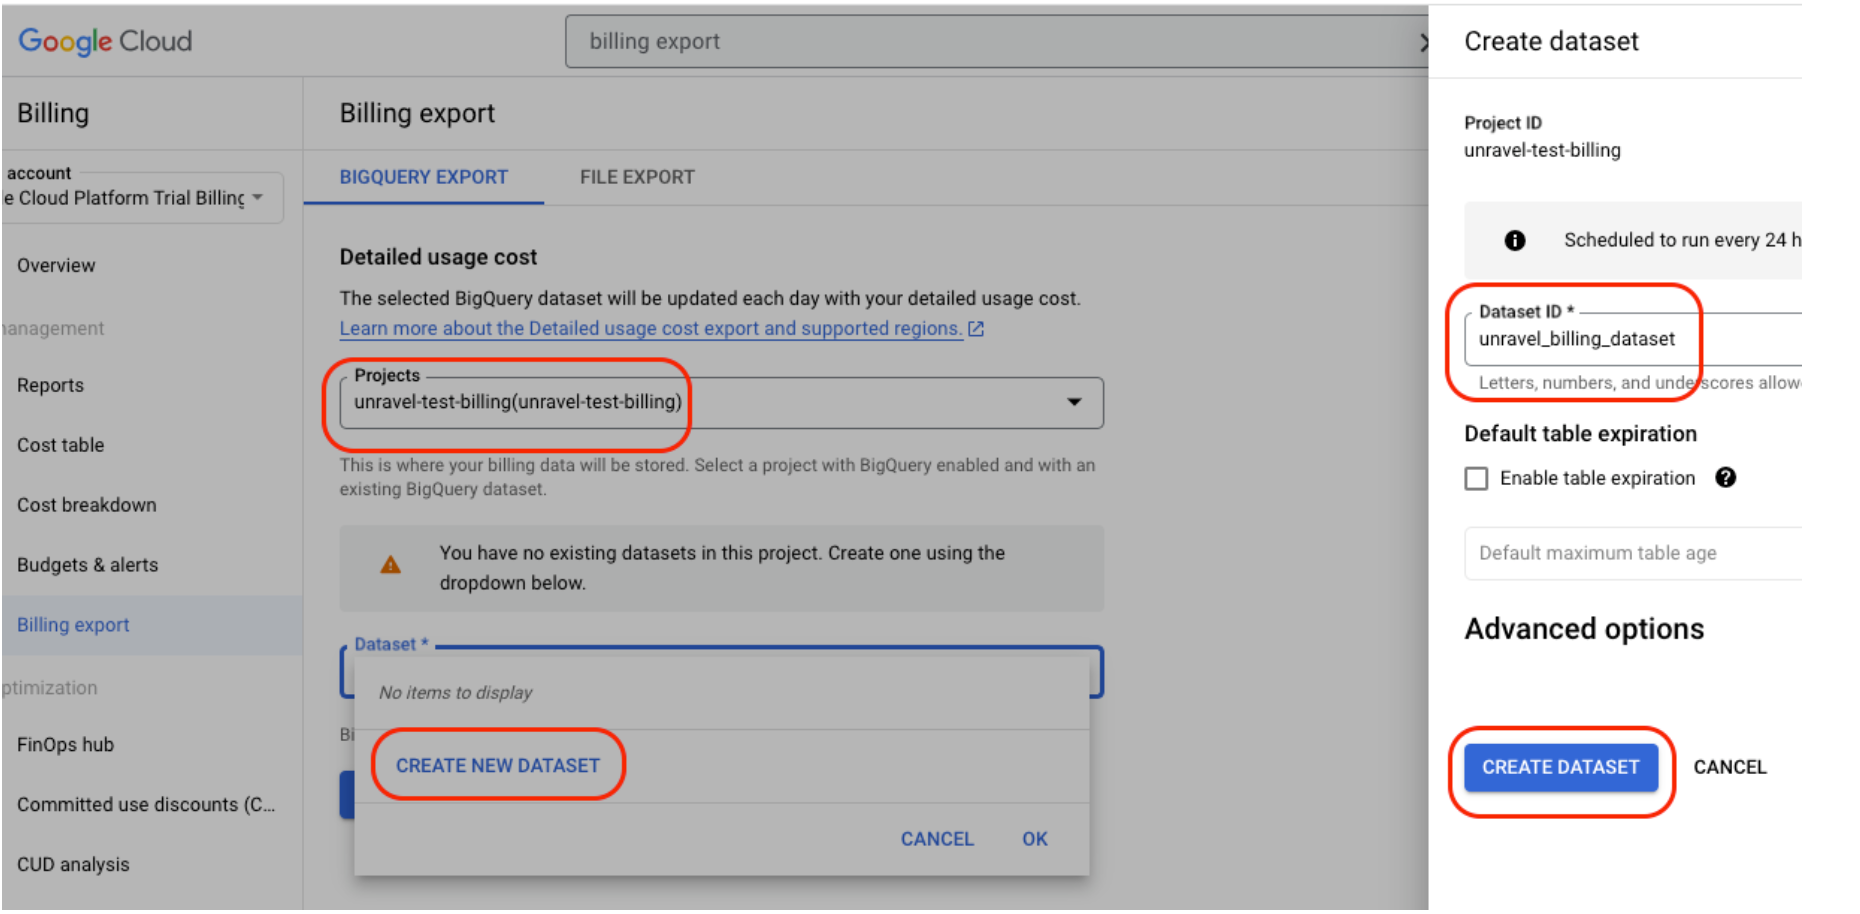
Confirm that the project and the dataset in which you want to export the billing data are correct, and then click Save.
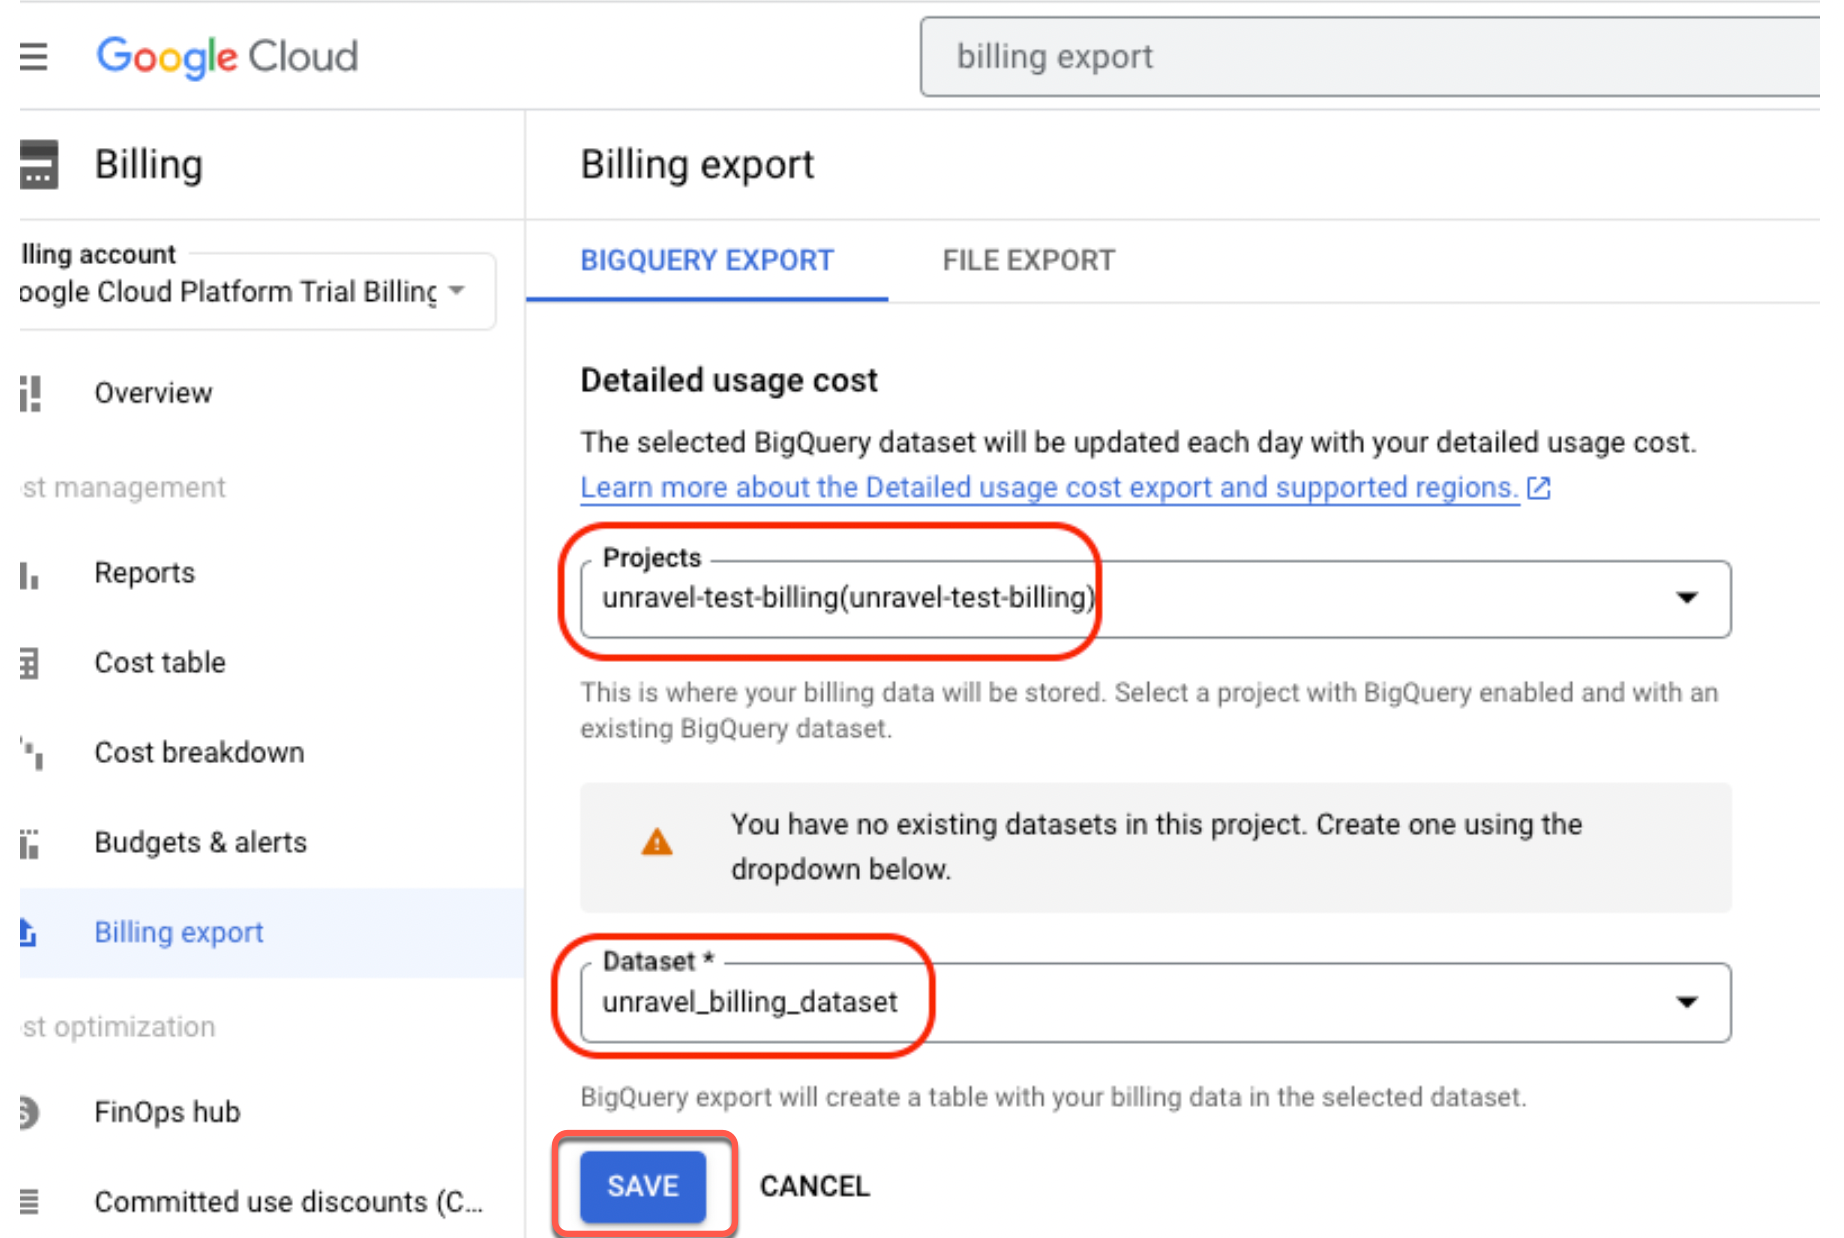
In the Billing export page > Detailed usage cost section, check and ensure that the Detailed usage cost is shown as Enabled and your selected project ID and dataset are displayed.
The table creation process in the chosen dataset will take a few minutes.
Note the following billing export details and keep them handy:
Dataset ID
Table ID
Billing Export project ID
Billing Export Dataset ID
Billing Export Table Name
Note
The administrator project manages the BigQuery Reservations resources and is the primary billing source for these resources. This project need not be the same project with BigQuery jobs. Google recommends creating a dedicated project for Reservations resources.
Creating GCP Resources for Information Schema
Use this section to set up the required Google Cloud resources and permissions for Unravel integration using the Information Schema approach. You can use either Google Cloud CLI commands or Terraform scripts.
Creating GCP Resources using Google CLI (Information Schema)
Set the service account variable:
SA_EMAIL=<Unravel service account>
Grant required permissions for monitoring projects:
MONITORING_PROJECTS=("project-1" "project-2")

# Option 1: Assign GCP managed roles
for project in "${MONITORING_PROJECTS[@]}"; do
 PROJECT_ID=${project}
 PREFEFINED_ROLES=(
 "roles/bigquery.user"
 "roles/bigquery.resourceViewer"
 "roles/recommender.bigQueryCapacityCommitmentsProjectViewer"
 "roles/recommender.bigqueryPartitionClusterViewer"
 "roles/bigquery.dataViewer"
 "roles/serviceusage.serviceUsageConsumer"
 )
 for role in "${PREFEFINED_ROLES[@]}"; do
 gcloud projects add-iam-policy-binding ${PROJECT_ID} \
 --member serviceAccount:${SA_EMAIL} \
 --role ${role}
 done
done

# Option 2: Create and assign a custom role
for project in "${MONITORING_PROJECTS[@]}"; do
 PROJECT_ID=${project}
 cat <<EOF > unravel_monitoring_role.json
{
 "name": "projects/${PROJECT_ID}/roles/unravel_monitoring_role",
 "title": "Unravel Monitoring Project Role",
 "description": "Unravel Monitoring Project Role",
 "includedPermissions": [
 "resourcemanager.projects.get",
 "bigquery.jobs.get",
 "bigquery.jobs.create",
 "bigquery.jobs.listAll",
 "bigquery.reservationAssignments.search",
 "bigquery.transfers.get",
 "recommender.bigqueryCapacityCommitmentsInsights.get",
 "recommender.bigqueryCapacityCommitmentsInsights.list",
 "recommender.bigqueryCapacityCommitmentsRecommendations.get",
 "recommender.bigqueryCapacityCommitmentsRecommendations.list",
 "recommender.bigqueryPartitionClusterRecommendations.get",
 "recommender.bigqueryPartitionClusterRecommendations.list",
 "bigquery.datasets.get",
 "bigquery.routines.get",
 "bigquery.routines.list",
 "bigquery.tables.list",
 "bigquery.tables.get",
 "serviceusage.services.use"
 ],
 "stage": "BETA"
}
EOF

 gcloud iam roles create unravel_monitoring_role \
 --project ${PROJECT_ID} \
 --file unravel_monitoring_role.json

 gcloud projects add-iam-policy-binding ${PROJECT_ID} \
 --member serviceAccount:${SA_EMAIL} \
 --role projects/${PROJECT_ID}/roles/unravel_monitoring_role
done
Grant required permissions for admin projects:
ADMIN_PROJECTS=("admin-project-1" "admin-project-2")

# Option 1: Assign GCP managed roles
for project in "${ADMIN_PROJECTS[@]}"; do
 PROJECT_ID=${project}
 PREFEFINED_ROLES=(
 "roles/bigquery.resourceViewer"
 "roles/bigquery.user"
 )
 for role in "${PREFEFINED_ROLES[@]}"; do
 gcloud projects add-iam-policy-binding ${PROJECT_ID} \
 --member serviceAccount:${SA_EMAIL} \
 --role ${role}
 done
done
# Option 2: Create and assign a custom role for project in "${ADMIN_PROJECTS[@]}"; do PROJECT_ID=${project} cat &lt;&lt;EOF &gt; unravel_admin_project_role.json { "name": "projects/${PROJECT_ID}/roles/unravel_admin_project_role", "title": "Unravel Admin Project Role", "description": "Unravel Admin Project Role", "includedPermissions": [ "bigquery.reservations.list", "bigquery.capacityCommitments.list", "bigquery.jobs.create" ], "stage": "BETA" } EOF gcloud iam roles create unravel_admin_project_role \ --project ${PROJECT_ID} \ --file unravel_admin_project_role.json gcloud projects add-iam-policy-binding ${PROJECT_ID} \ --member serviceAccount:${SA_EMAIL} \ --role projects/${PROJECT_ID}/roles/unravel_admin_project_role doneGrant required permissions for the billing project:
BILLING_PROJECTS=("billing-project-1")

# Option 1: Assign GCP managed roles
for project in "${BILLING_PROJECTS[@]}"; do
 PROJECT_ID=${project}
 PREFEFINED_ROLES=(
 "roles/bigquery.dataViewer"
 "roles/bigquery.user"
 )
 for role in "${PREFEFINED_ROLES[@]}"; do
 gcloud projects add-iam-policy-binding ${PROJECT_ID} \
 --member serviceAccount:${SA_EMAIL} \
 --role ${role}
 done
done
# Option 2: Create and assign a custom role for project in "${BILLING_PROJECTS[@]}"; do PROJECT_ID=${project} cat <<EOF > unravel_billing_project_role.json { "name": "projects/${PROJECT_ID}/roles/unravel_billing_project_role", "title": "Unravel Billing Project Role", "description": "Unravel Billing Project Role", "includedPermissions": [ "bigquery.jobs.create", "bigquery.tables.getData", "bigquery.datasets.get", "bigquery.tables.get" ], "stage": "BETA" } EOF gcloud iam roles create unravel_billing_project_role \ --project ${PROJECT_ID} \ --file unravel_billing_project_role.json gcloud projects add-iam-policy-binding ${PROJECT_ID} \ --member serviceAccount:${SA_EMAIL} \ --role projects/${PROJECT_ID}/roles/unravel_billing_project_role doneAfter configuring the roles, share the list of monitoring, admin, and billing project IDs with the Unravel team.
Creating GCP Resources using Terraform (Information Schema)
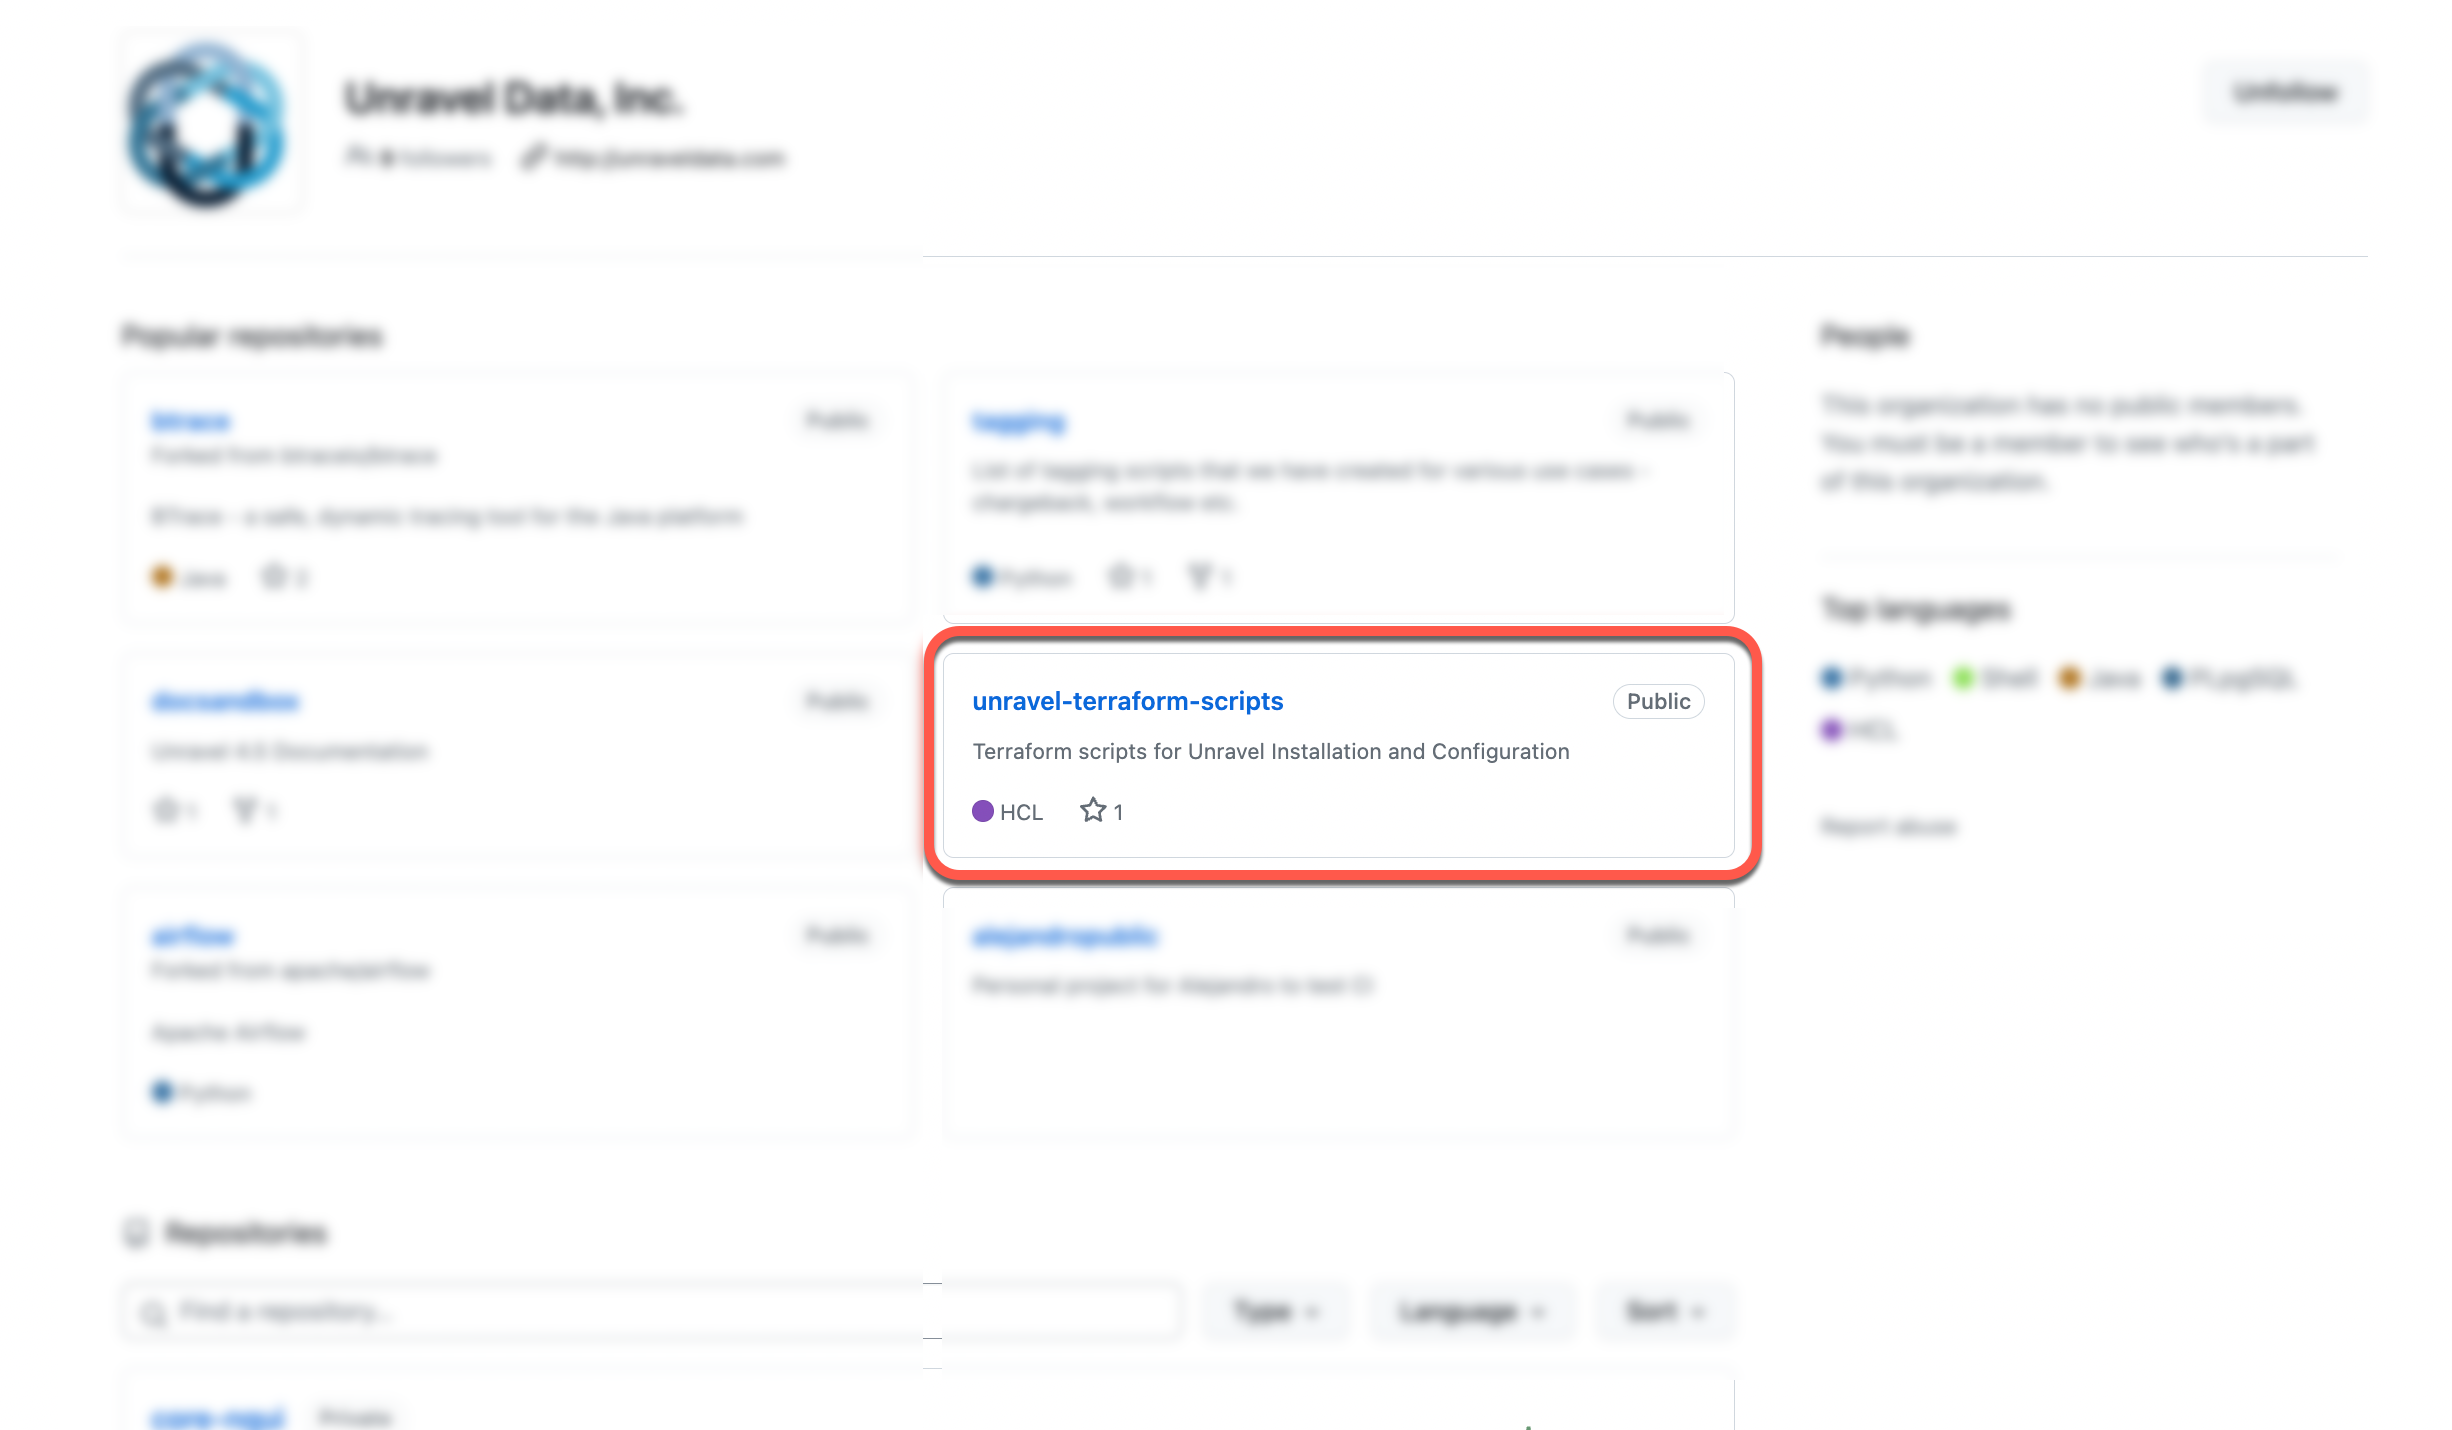
Use a terminal and clone the following repository:
https://github.com/unraveldata-org/unravel-terraform-scripts/tree/release/4.8.2.3/
Go to
unravel-terraform-scripts/saas/bigqueryfolder.Duplicate the example input file named
input.tfvars.example. Rename it toinput.tfvars.cp input.tfvars.example input.tfvars
Configure Terraform backend. Unravel recommends configuring a central storage for your Terraform state file.
Copy the
backend.tf.examplefile using this command:cp backend.tf.example backend.tf
Update the Google Storage Path, to which the user who runs Terraform has access, in the
backend.tffile.
Using a VM editor, update the following in the
input.tfvarsfile: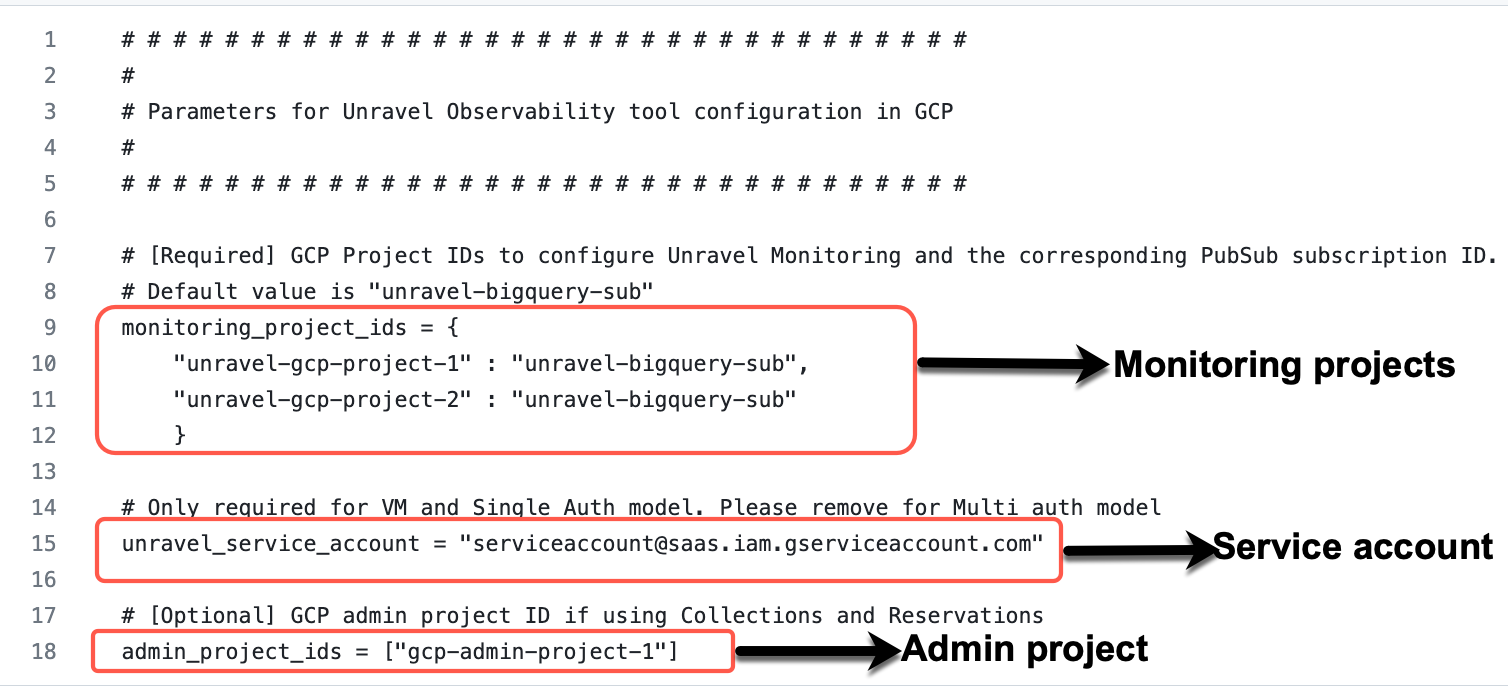
Project IDs
Enter the new project IDs that you had specified for Setting up exporting of the GCP billing data for Unravel in the monitoring_projects_list variable.
Administrator project ID
Enter your administrator project ID in the admin_project_id variable.
Service account
Enter the service account that you received in the email from Unravel in the service_account variable.
Tip
The service account is also available from the Unravel UI > Manage icon
 > BigQuery configuration, which you can copy.
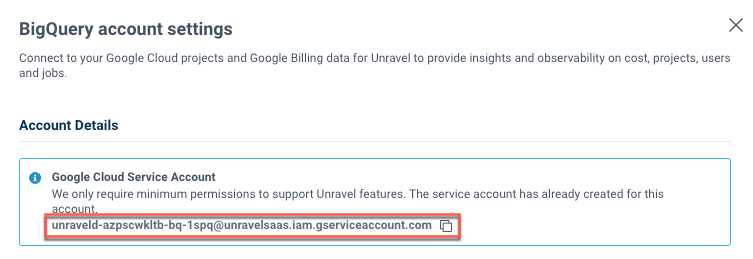
Navigate to the Terraform directory and run the following commands to log in to the gcloud application. A user with the essential IAM permissions can only log on to the gcloud application.
cd unravel-terraform-scripts/saas/bigquery
gcloud init
gcloud auth-application-default login
After the login, run the following commands:
terraform init
terraform plan --var-file=input.tfvars
terraform apply --var-file=input.tfvars
The GCP resources are created. You can now login to the Unravel BigQuery account using the login credentials that you have received in the email.
Terraform scripts are used to facilitate the smooth integration of Unravel with BigQuery projects. These scripts help you set up various components and resources.
Note
Unravel recommends creating GCP resources for integration using the Terraform script. You can fork the repository using a GCP cloud storage bucket to store the Terraform state and push changes to the fork every time you do the integration.
The following IAM permissions are required for creating the GCP resources. Whoever executes the Terraform script for creating GCP resources for integration must have these permissions.
iam.roles.create | iam.serviceAccountKeys.create | logging.sinks.create | pubsub.subscriptions.create | resourcemanager.projects.get |
iam.roles.delete | iam.serviceAccountKeys.delete | logging.sinks.delete | pubsub.subscriptions.delete | resourcemanager.projects.getIamPolicy |
iam.roles.get | iam.serviceAccountKeys.get | logging.sinks.get | pubsub.subscriptions.get | resourcemanager.projects.setIamPolicy |
iam.roles.undelete | iam.serviceAccounts.create | pubsub.topics.attachSubscription | ||
iam.roles.update | iam.serviceAccounts.delete | pubsub.topics.create | ||
iam.serviceAccounts.get | pubsub.topics.delete | |||
iam.serviceAccounts.getIamPolicy | pubsub.topics.get | |||
iam.serviceAccounts.getIamPolicy | pubsub.topics.get | |||
iam.serviceAccounts.setIamPolicy | pubsub.topics.getIamPolicy | |||
pubsub.topics.setIamPolicy |
Follow the instructions to create GCP resources using Terraform scripts for projects that you want to be integrated with Unravel for monitoring:
Use a terminal and clone the following repository:
https://github.com/unraveldata-org/unravel-terraform-scripts/tree/release/4.8.2.3/
Go to
unravel-terraform-scripts/saas/bigqueryfolder.Duplicate the example input file named
input.tfvars.example. Rename it toinput.tfvars.cp input.tfvars.example input.tfvars
Configure Terraform backend. Unravel recommends configuring a central storage for your Terraform state file.
Copy the
backend.tf.examplefile using this command:cp backend.tf.example backend.tf
Update the Google Storage Path, to which the user who runs Terraform has access, in the
backend.tffile.
Using a VM editor, update the following in the
input.tfvarsfile:Project IDs
Enter the new project IDs that you had specified for Setting up exporting of the GCP billing data for Unravel in the monitoring_projects_list variable.
Administrator project ID
Enter your administrator project ID in the admin_project_id variable.
Service account
Enter the service account that you received in the email from Unravel in the service_account variable.
Tip
The service account is also available from the Unravel UI > Manage icon
> BigQuery configuration, which you can copy.
Navigate to the Terraform directory and run the following commands to log in to the gcloud application. A user with the essential IAM permissions can only log on to the gcloud application.
cd unravel-terraform-scripts/saas/bigquery
gcloud init
gcloud auth-application-default login
After the login, run the following commands:
terraform init
terraform plan --var-file=input.tfvars
terraform apply --var-file=input.tfvars
The GCP resources are created. You can now login to the Unravel BigQuery account using the login credentials that you have received in the email.
Integrating Unravel with BigQuery projects
Do the following to integrate BigQuery with Unravel:
After your Unravel account is set, you will receive an email with the following details. Keep these handy to access your Unravel UI and integrate the BigQuery projects.
URL to access Unravel (BigQuery) SaaS
Login credentials
Service account
Run the following steps to integrate your BigQuery projects for Unravel monitoring:
Complete the prerequisites to create GCP resources and set up the exporting of billing data.
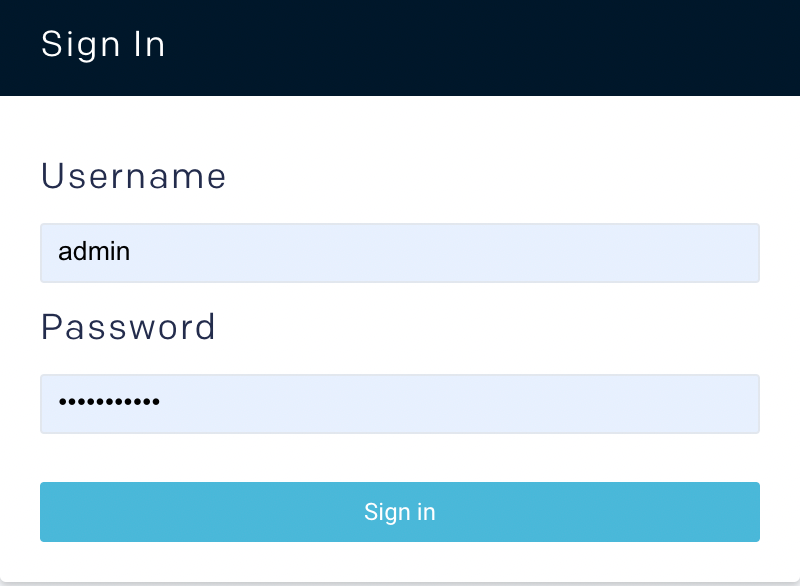
Click the URL that you have received in the email and access the Unravel UI.
Enter the login credentials received by email on the login page. The Unravel UI is displayed.
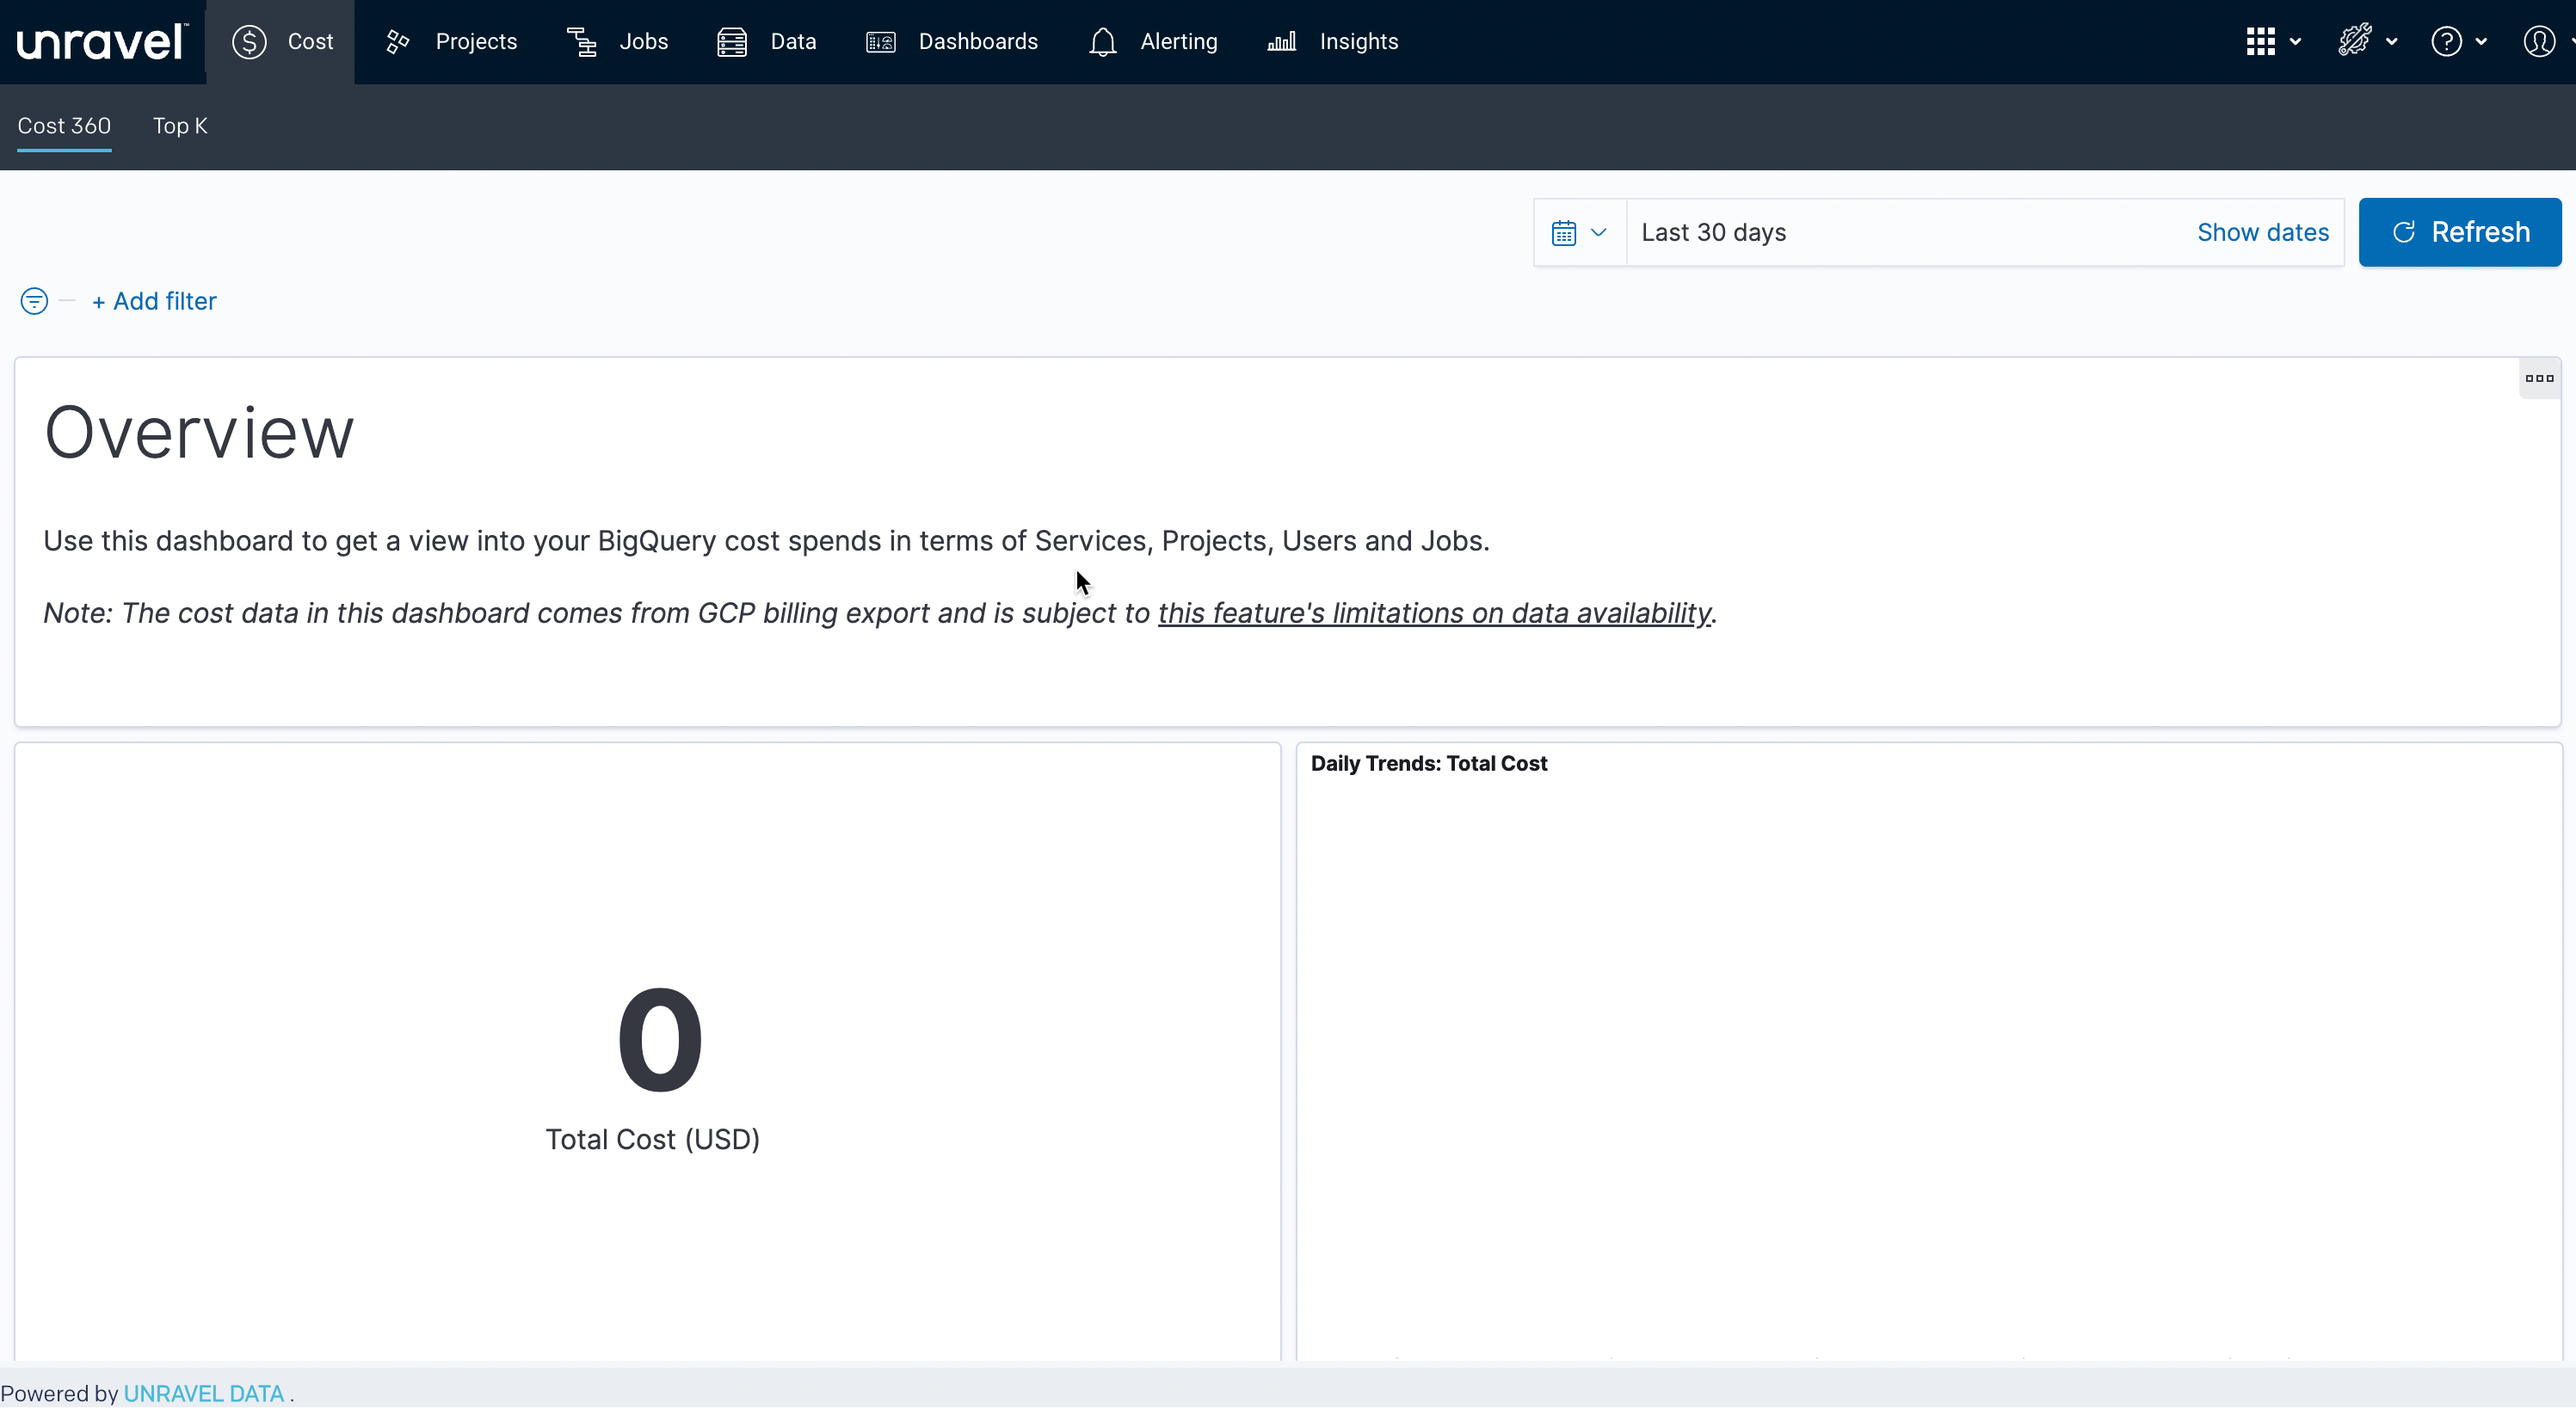
From the top right, click
and select BigQuery configuration. The BigQuery account setting page is displayed. Specify the following details:
In the Monitored projects section, specify the Project IDs you have integrated using Terraform.
In the Administrator Projects section, specify the admin project ID.
In the Google Cloud Billing Export Data section, specify the Project ID, Dataset ID, and Table ID. Refer to Prerequisites.
Click the Save button. The BigQuery projects are successfully integrated, and you can monitor these projects from the Unravel UI. In case any errors are shown, you must fix it and click the Save button again.
You can also refer to the following videos for BigQuery prerequisites and for integrating Unravel with BigQuery projects
BigQuery prerequisites
Integrating Unravel with BigQuery projects