How to create AutoActions and alerts
Unravel's AutoAction automates your compute cluster's monitoring by allowing you to define actionable rules on different cluster metrics. You can use an AutoAction to alert you of a situation that requires manual intervention, for example, resource contention or stuck jobs. Additionally, it can be set to automatically kill an app or move it to a different queue.
To add an AutoAction, do the following:
On the Unravel UI > Operations > Dashboard page, on the right, click ADD NEW AUTOACTION OR ALERT. The AutoActions page is displayed.
Click CREATE FROM TEMPLATE.
You can select any AutoAction template. For this walkthrough, you can select Rogue Application.
A partially completed template designed for the task is shown. The ruleset options available are relevant only to the task. Fields that you need to fill in are highlighted.
Specify the details for the highlighted fields.
Click Save AutoAction.
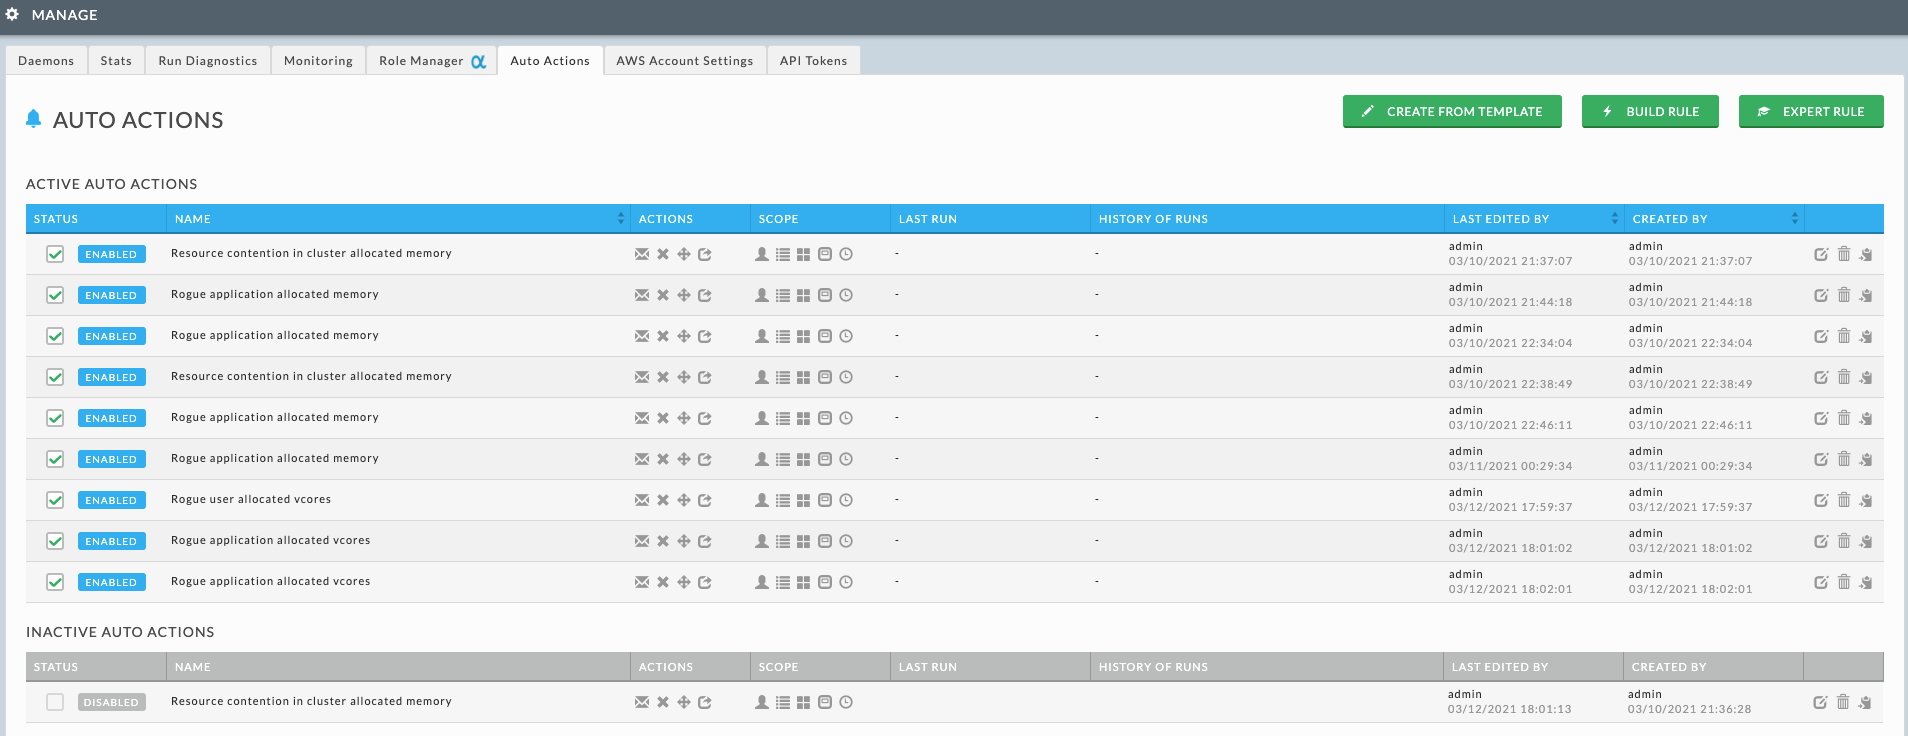
Your AutoAction is now listed in the Manage > AutoActions, from where you can edit or enable/disable the AutoAction.