Installing Unravel Server on an EC2 instance
This topic explains how to create a new EC2 instance, set up RDS (optionally), install and configure Unravel Server on the new EC2 instance, and connect it to the EMR cluster you want to monitor.
1. Create an EC2 instance
On your AWS console (https://console.aws.amazon.com/), go to the EC2 dashboard and click Launch Instance.
Select the following options based on Unravel's instance requirements:
Base OS
Instance type and size
EC2 instance's security group / IAM role
Best practice is to create an IAM role that contains the policy that only reads the specific S3 bucket used on EMR cluster, and then create and instance profile and add the IAM role to it.
Ports
Networking
The EC2 instance must be in same region with the target EMR clusters which Unravel EC2 node will be monitoring.
Security groups or policies
Create an S3 ReadAccess only IAM role and assign it to Unravel EC2 node to read the archive logs on the S3 bucket configured for the EMR cluster.
Create TCP and UDP connections from the EMR master node to Unravel EC2 node.
Create a security group that allows port 3000 and port 4043 from EMR cluster nodes' IP address, and put the member of the security group used on EMR cluster in this rule.
Sample inbound rule Type
Protocol
Port range
Source
All traffic
All
All
Security group ID of this group or subnet IP block.
For example, 10.10.0.0/16
SSH
TCP
22
0.0.0.0/0 or trusted public IP for SSH access
Custom TCP Rule
TCP
3000
Security group ID used on the EMR cluster or subnet IP block (if IP block belongs to a different VPC). Required for VPC peering connection.
Custom TCP Rule
TCP
4043
Security group ID used on the EMR cluster or subnet IP block (if IP block belongs to a different VPC). Required for VPC peering connection.
Sample outbound rule Type
Protocol
Port range
Source
All traffic
All
All
0.0.0.0/0
Note
The Unravel EC2 node should have all TCP access to the EMR cluster (master or slave) nodes. You can grant access by inserting a security policy into both security groups of the EMR master and slave with all TCP, all port range. The source is the security group ID of the Unravel VM. For an example, see the screenshot below.
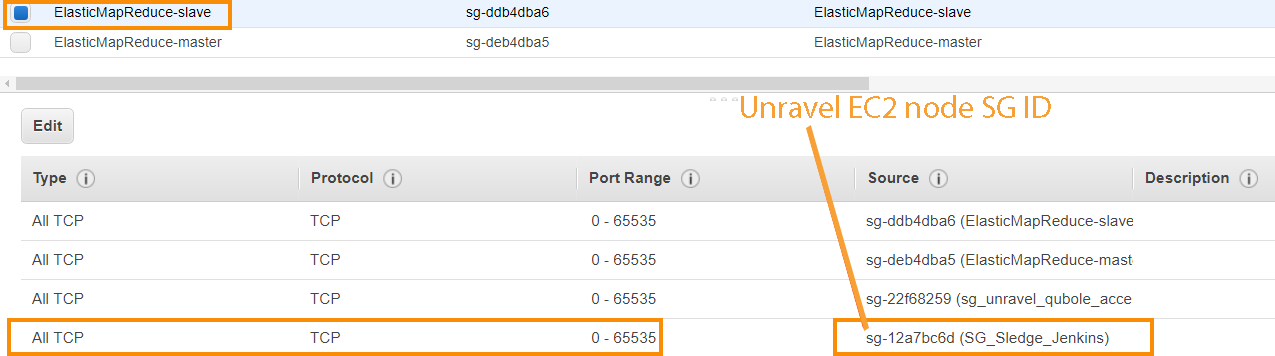
If it isn't possible to allow the Unravel EC2 access to all traffic to EMR cluster, you must minimally allow it to access cluster nodes' TCP ports 8020, 50010 and 50020.
2. Configure the EC2 instance
Disable
selinux.sudo setenforce Permissive
Edit
/etc/selinux/configto make sure the setting persists after reboot and make sureSELINUX=permissive.sudo vi /etc/selinux/config
Install
libaio.x86_64,lzop.x86_64, and ntp.x86_64.sudo yum install -y libaio.x86_64 sudo yum install -y lzop.x86_64 sudo yum install -y ntp.x86_64
Start ntpd and check the system time.
sudo service ntpd start
sudo ntpq -p
Create a new user named
hadoop.sudo useradd hadoop
3. Install MySQL
Complete the [Before Installing Unravel RPM] steps in Install and configure MySQL for Unravel.
4. Install the Unravel RPM on the EC2 instance
Download the Unravel Server RPM.
Install the Unravel Server RPM.
The precise filename can vary, depending on how it was fetched or copied.
sudo rpm -U unravel-4.5.0.*-EMR-latest.rpm
Run the
await_fixups.shscript to ensure background processing is finished before proceeding.In a routine upgrade, it is okay to start all Unravel daemons, but do not stop or restart them until the
await_fixups.shprintsDone. This may take a few minutes./usr/local/unravel/install_bin/await_fixups.sh sudo /usr/local/unravel/install_bin/switch_to_user.sh hadoop hadoop
Append the following line to
/usr/local/unravel/etc/unravel.properties:com.unraveldata.onprem=false
For monitoring EMR Spark service, add the following properties to
unravel.properties:com.unraveldata.spark.live.pipeline.enabled=true com.unraveldata.spark.hadoopFsMulti.useFilteredFiles=true com.unraveldata.spark.events.enableCaching=true
The installation creates the following items:
Virtualization type: HVM
User
unravel(if it doesn't exist already).Initial internal database and other durable states in
/srv/unravel/for larger storage.Virtualization type: HVM
/etc/init.d/unravel_*scripts for controlling services, and/etc/init.d/unravel_all.shwhich you can use to manually stop, start, and get status of all daemons in proper order.
5. Configure MySQL
Complete the [After Installing Unravel RPM] steps in Install and configure MySQL for Unravel.
6. Log into Unravel UI
Start Unravel daemons.
sudo /etc/init.d/unravel_all.sh start
Create an SSH tunnel from your workstation to the Unravel EC2 instance.
ssh -i ssh_key.pem centos@
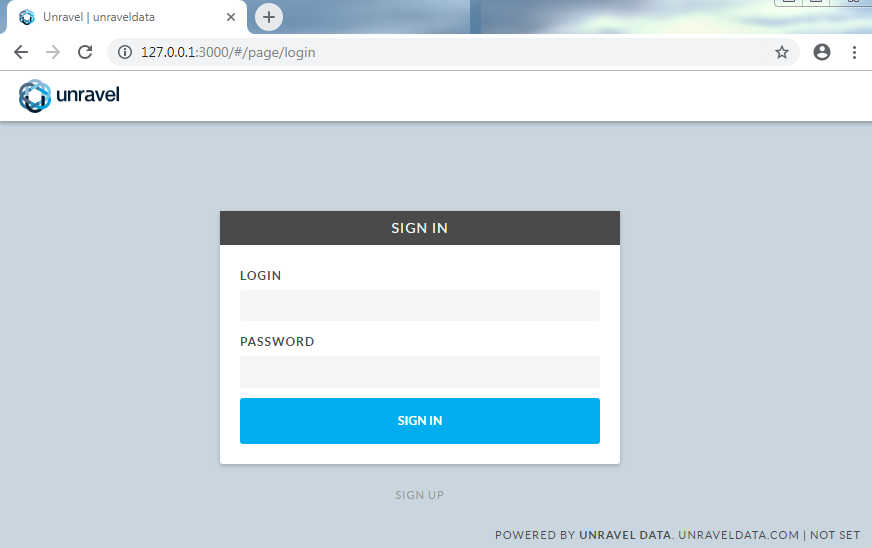
unravel-host-ip-L 3000:127.0.0.1:3000Using a supported web browser, navigate to
http://127.0.0.1:3000and log in with usernameadminwith passwordunraveldata.