Configure and restart Unravel
Configure basic options
Set these properties in
/usr/local/unravel/etc/unravel.propertiesas follows. If you don't find the property in the file, add it.com.unraveldata.cluster.type=DB com.unraveldata.python.enabled=false com.unraveldata.tagging.enabled=true com.unraveldata.cluster.type=DB com.unraveldata.onprem=false logreceiver.force_unravel_cluster_id=true
Configure Unravel with MySQL
Set the following Unravel properties in
/usr/local/unravel/etc/unravel.properties. Check Azure MySQL resource page for property values.unravel.jdbc.username=
Server_admin_login_nameunravel.jdbc.password=Server_admin_login_passwordunravel.jdbc.url=jdbc:mysql://Server_name:3306/unravel_mysql_prod unravel.jdbc.url.params=useSSL=true&requireSSL=falseInstall MySQL JDBC connector driver in Unravel classpath.
wget https://dev.mysql.com/get/Downloads/Connector-J/mysql-connector-java-5.1.47.tar.gz -O /tmp/mysql-connector-java-5.1.47.tar.gz
cd /tmp
tar xvzf /tmp/mysql-connector-java-5.1.47.tar.gz
sudo mkdir -p /usr/local/unravel/share/java
sudo cp /tmp/mysql-connector-java-5.1.47/mysql-connector-java-5.1.47.jar /usr/local/unravel/share/java
Create database and tables for Unravel. Enter MySQL Server admin login password when prompted.
mysql --host=
Server_name--port=3306 --userServer_admin_login_name--password -e 'create database unravel_mysql_prod' /usr/local/unravel/dbin/db_schema_upgrade.sh sudo /usr/local/unravel/install_bin/db_initial_inserts.sh | /usr/local/unravel/install_bin/db_access.sh
Configure Unravel with Workspace
Navigate to Workspace > Admin Console > Access Control and enable Personal Access Tokens.
Navigate to Workspace > User Settings > Access Tokens and click Generate New Token. Choose the lifetime of the token as
indefinite.Install Unravel agents on Workspace and update Unravel config with Workspace details.
Note
Run the following two commands only if databricks CLI is installed using python virtualenv:
sudo bash
virtualenv -p /usr/bin/python3 mypy3
source mypy3/bin/activate
/usr/local/unravel/install_bin/databricks_setup.sh --add-workspace -i Workspace id -n Workspace name -t Workspace token -r https://Workspace Instance -p workspace_tier -u Unravel DNS or IP Address:4043
Go to Workspace> Admin Console> Access Control and enable Personal Access Tokens. See Enable token-based authentication.
Go to Workspace> User Settings> Access Tokens and click Generate New Token. See Authenticate using Databricks personal access tokens. Choose the lifetime of the token as indefinite.
Install Unravel agents on the Workspace and update Unravel config with the Workspace details. See Running the Databricks_setup.sh script
Note
Run the following commands only if the Databricks command-line tool is installed using Python virtual environment:
sudo bash
virtualenv -p /usr/bin/python3 mypy3
source mypy3/bin/activate
usr/local/unravel/install_bin/databricks_setup.sh --add-workspace -i <
Workspace id> -n <Workspace name> -t <Workspace token> -r https://<Workspace location>.azuredatabricks.net -p <Workspace_tier> -u <Unravel DNS or IP address>:4043
Restart Unravel
Restart all Unravel services
service unravel_all.sh restart
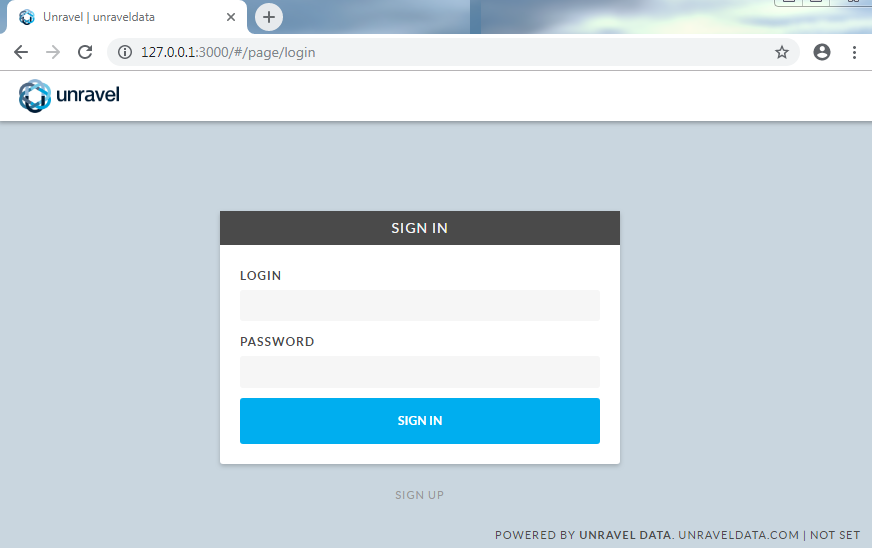
Using a supported web browser, (see Unravel's Databricks compatibility matrix), navigate to
http://and log in with usernameunravel-host:3000adminwith passwordunraveldata.