Signing up free trial with Unravel
You can get started with Unravel monitoring, on a trial basis, using SaaS capabilities. All you need to do is:
Connect the Unravel server to either an Amazon Elastic MapReduce (EMR) cluster or a Databricks, cluster
Note
The free trial expires after 7 days. You can extend the trial period by contacting trials@unraveldata.com.
Sign-up for Unravel SaaS free trials
Go to https://unraveldata.com/saas-free-trial and enter the following details:
First Name
Last Name
Company Name
Company Email
Phone Number
Trial Type: Amazon EMR or Databricks
Click the Start Free Trial button. You will receive a welcome email with the following details:
Unravel URL from where you can log in.
Login credentials.
Steps for instrumenting Amazon EMR/Databricks cluster with instructions.
Following is a sample of the welcome email for reference:
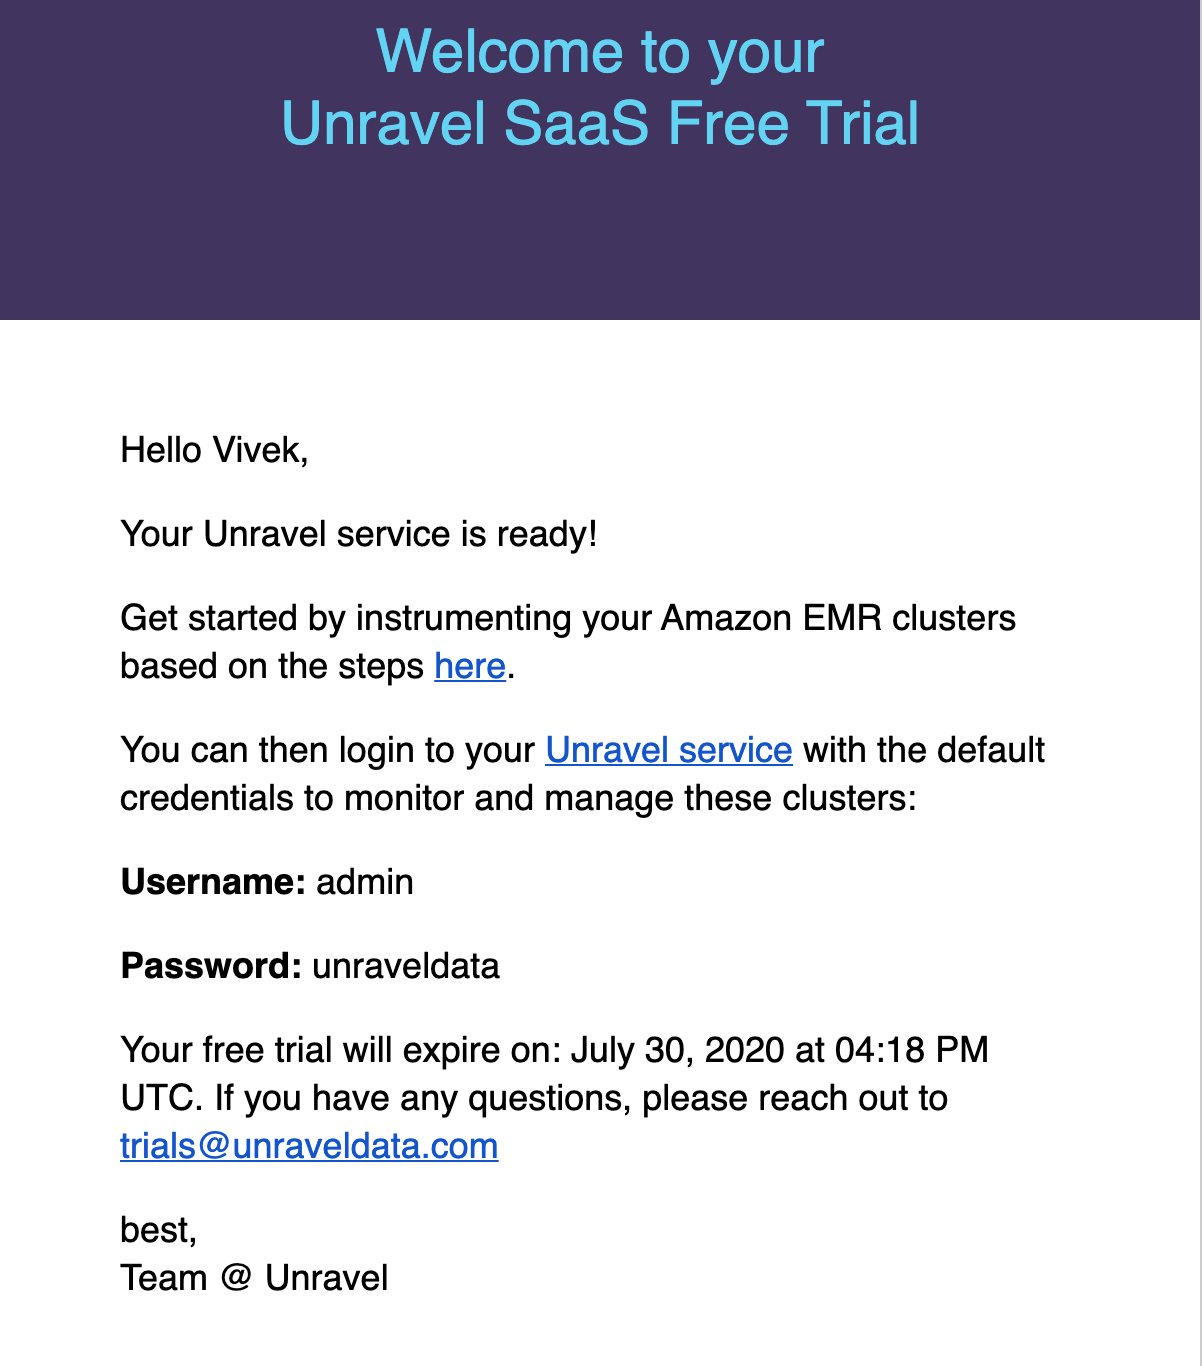
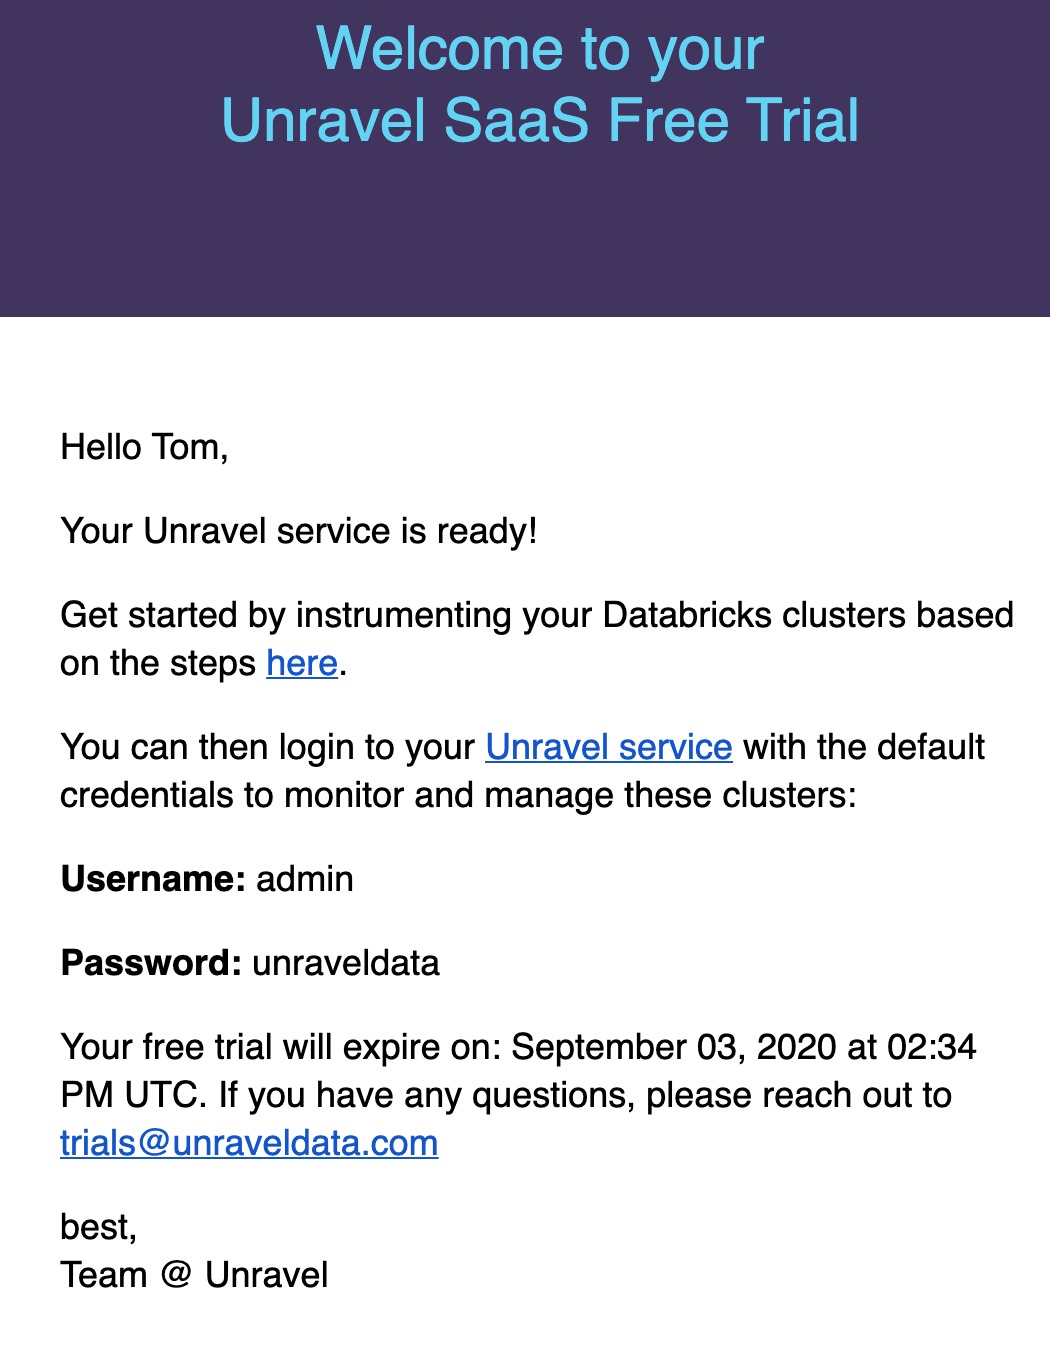
Click the Unravel service link in the email and login to Unravel using the default username and password provided in the email.
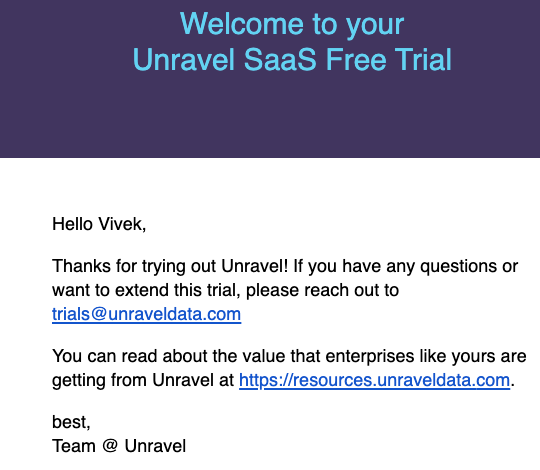
Free trial expiry
The free trial expires after 7 days. You will receive a trial expiry email and your free trial will be disabled.
Use the following steps to configure and connect your Amazon EMR cluster to the Unravel server. Unravel can then begin to monitor the jobs running on the cluster. These steps provide instructions to run Unravel's bootstrap script unravel_emr_bootstrap.py, on all nodes in the cluster.
In the AWS console, select the EMR service and click Create cluster.
In the Create Cluster - Quick Options screen, click Go to advanced options.

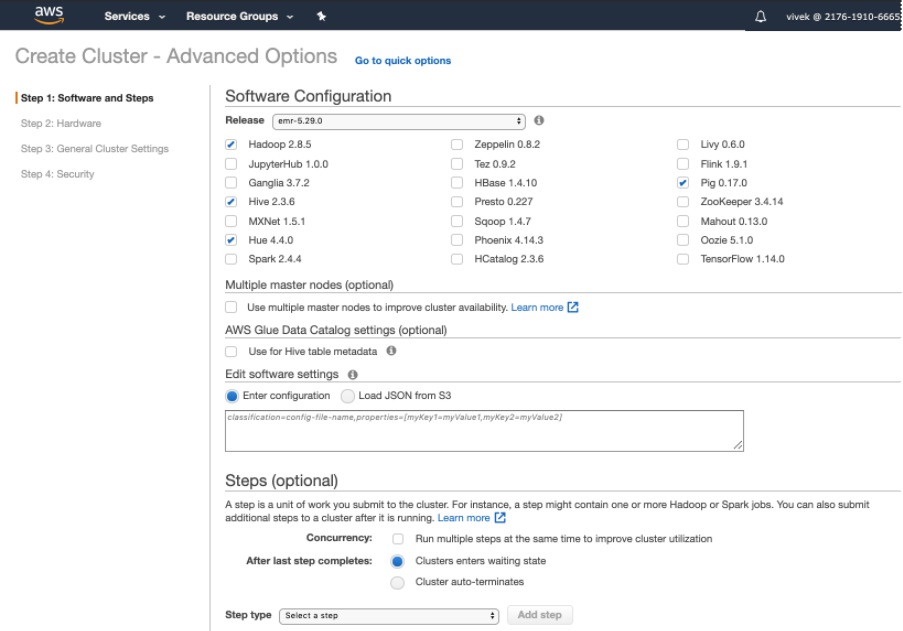
In Step 1: Software and Steps, select any release up to emr-5.29.0.
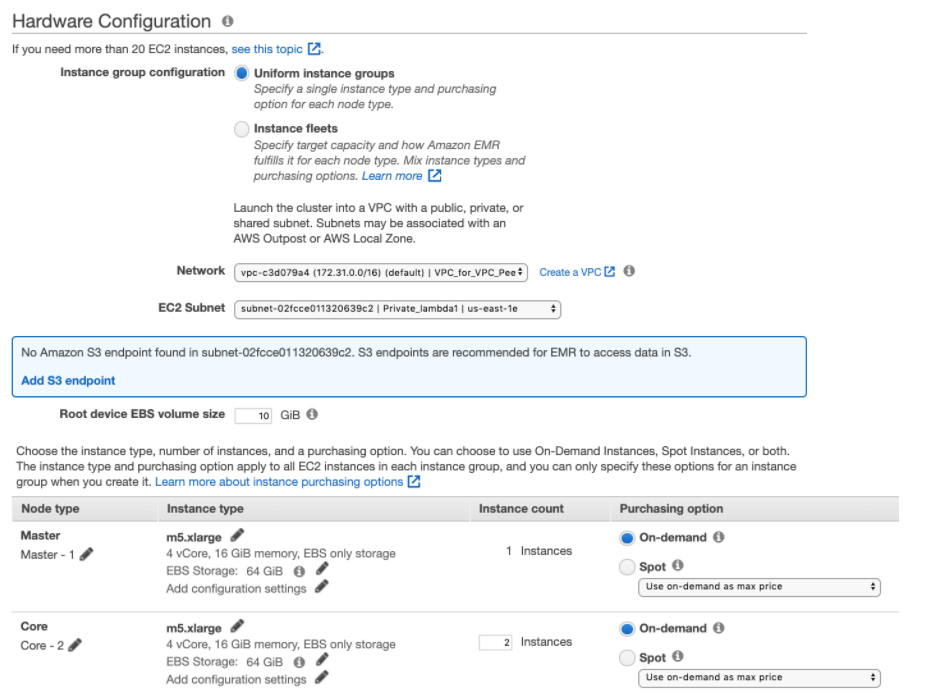
In Step 2: Hardware, enter a configuration for your EMR cluster, and click Next.
In Step 3: General Cluster Settings, specify the following settings in Add Bootstrap Action and click Add. The Amazon EMR cluster will start with this bootstrap action.
Setting
Action
Name
Select Custom action.
Script location
Specify the following bootstrap location:
s3://unravel-saas-bootstrap/unravel_emr_bootstrap.py.Note
If you want to monitor MR jobs, then you must pass additional optional argument
--allOptional arguments
Enter the following:
--unravel-serverENTER-YOUR-UNRAVEL-INSTANCE-HOSTNAME-HEREClick Configure and add.
In Step 4: Security, edit the configuration for the cluster as required. For example:
Choose the EC2 key pair.
Select the EC2 security groups. AWS EMR service automatically applies additional rules that are required for EMR nodes.
Click Create cluster. Your new EMR cluster finishes the bootstrap process and will be in the Waiting state.
Use the following steps to configure and connect your Databricks cluster to the Unravel server. Unravel can then monitor the jobs running on these clusters.
Create a Workspace token in Databricks
Go to Workspace > Admin Console > Access Control and enable Personal Access Tokens. For more details, refer toManage personal access tokens.

Go to Workspace > User Settings > Access Tokens and click Generate New Token. For more details, refer to Authentication using Databricks personal access tokens.

Register a new Databricks Workspace or edit details of an existing Databricks workspace.
Go to the Unravel Instance UI > Workspaces page.
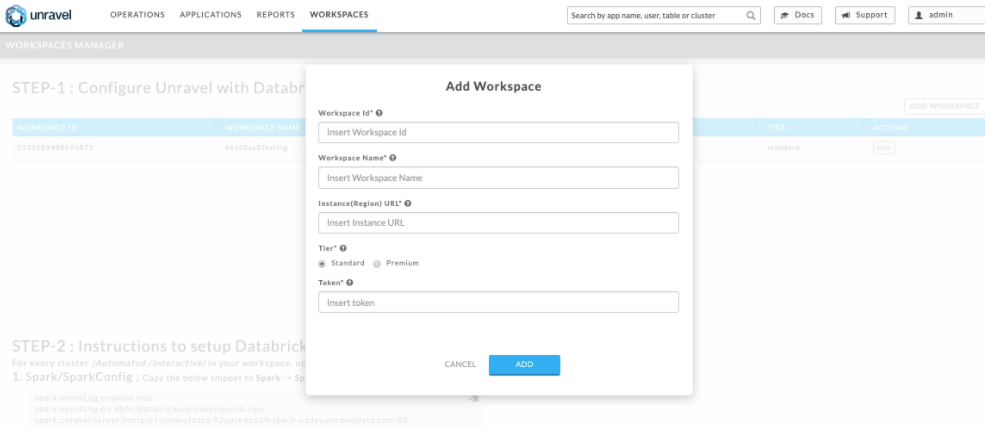
Enter the details to register a new Databricks Workspace with Unravel or edit the details of an existing Databricks Workspace. Refer to the following image:
Note
After you click the Add button, it will take around 2-3 minutes to register the Databricks Workspace with Unravel.
Configure Databricks cluster with Unravel
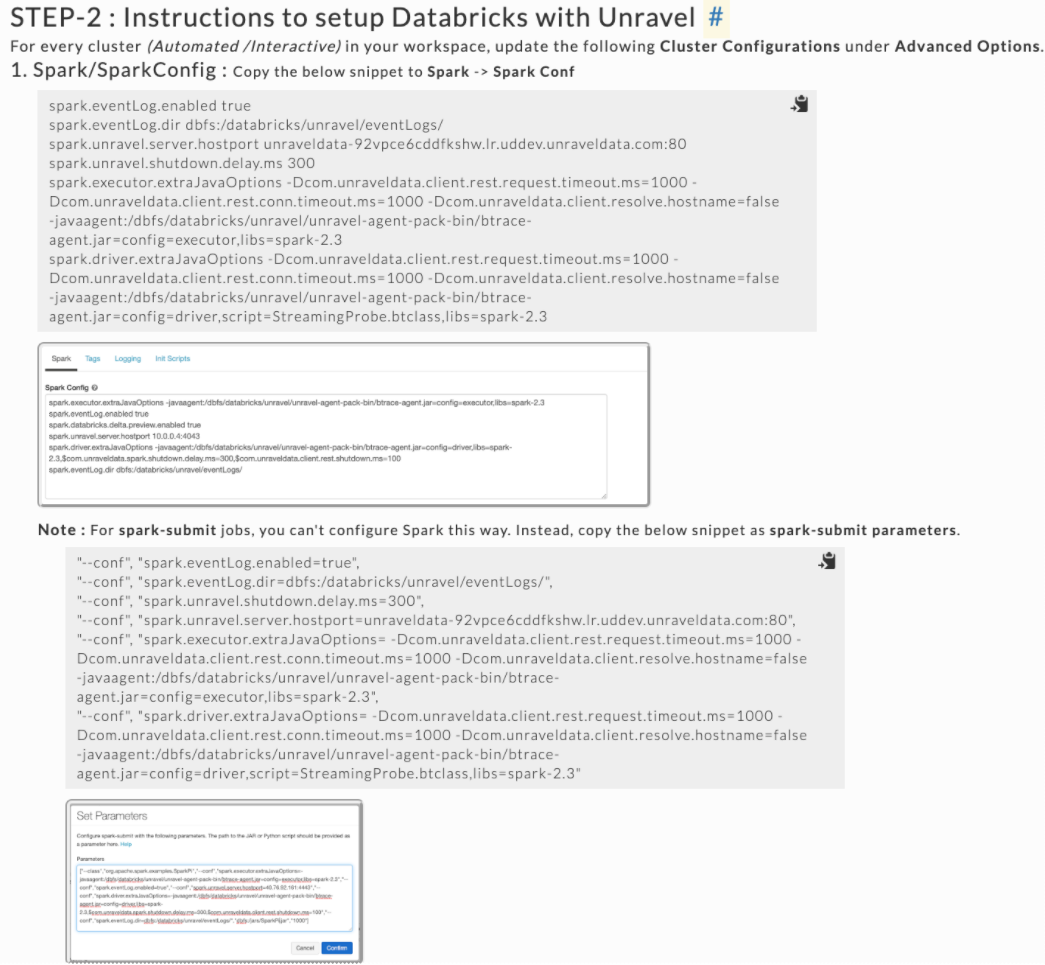
After the Workspace is registered, follow the instructions in STEP-2 to setup Databricks with Unravel. Refer to the following image:
On every Databricks cluster you want to monitor (Automated or Job clusters as well as Interactive or All-Purpose clusters), update the following sections under Advanced Options:
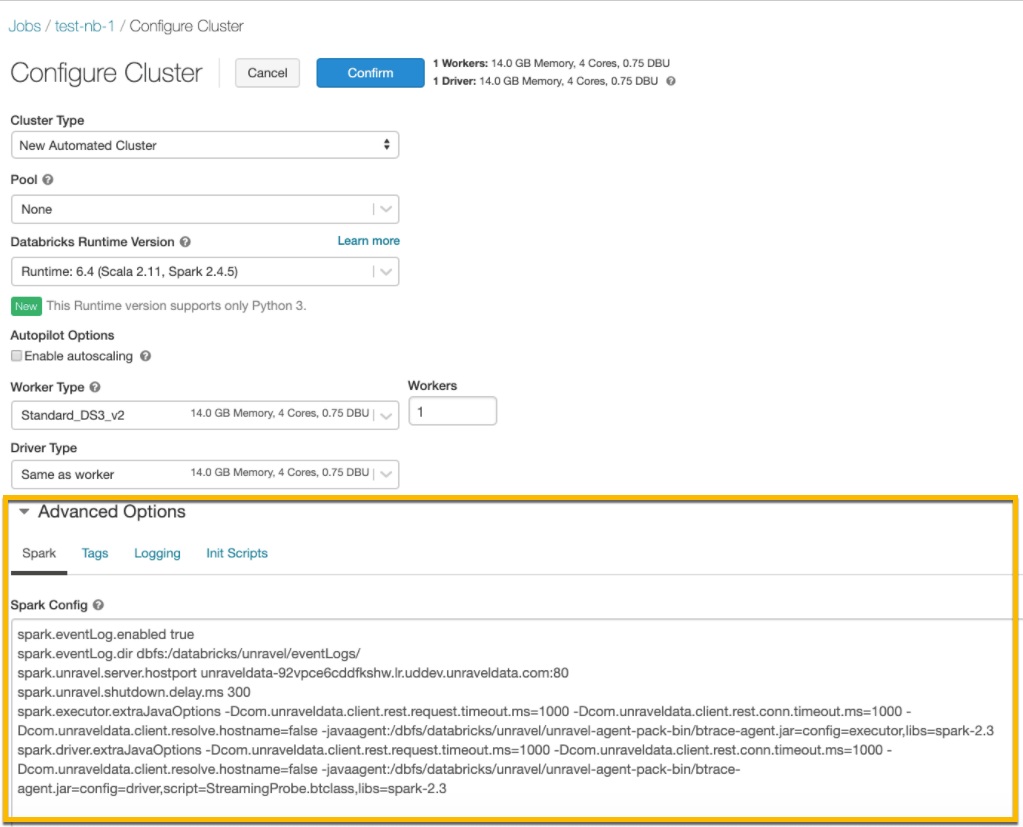
Spark
Copy the following snippet to Spark > Spark Conf. Replace
Unravel DNS or IP Address.spark.eventLog.enabled true spark.eventLog.dir dbfs:/databricks/unravel/eventLogs/ spark.unravel.server.hostport
<Unravel DNS or IP Address>:4043 spark.unravel.shutdown.delay.ms 300 spark.executor.extraJavaOptions -Dcom.unraveldata.client.rest.request.timeout.ms=1000 -Dcom.unraveldata.client.rest.conn.timeout.ms=1000 -javaagent:/dbfs/databricks/unravel/unravel-agent-pack-bin/btrace-agent.jar=config=executor,libs=spark-2.3 spark.driver.extraJavaOptions -Dcom.unraveldata.client.rest.request.timeout.ms=1000 -Dcom.unraveldata.client.rest.conn.timeout.ms=1000 -javaagent:/dbfs/databricks/unravel/unravel-agent-pack-bin/btrace-agent.jar=config=driver,script=StreamingProbe.btclass,libs=spark-2.3Logging
Select DBFS as Destination, and maintain the default Cluster Log Path.
dbfs:/cluster-logs/
Init Scripts
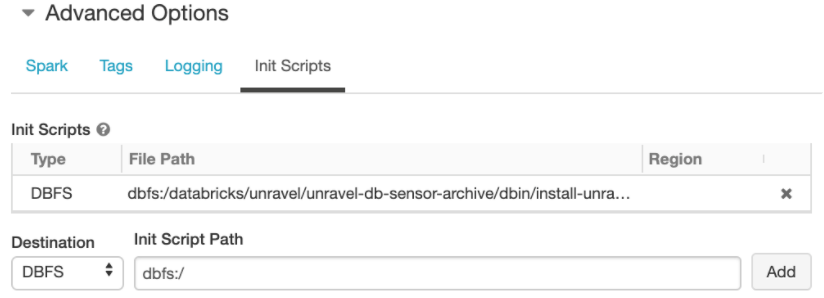
In the Init Scripts tab, select Destination as DBFS. Copy the following as the Init script path and click Add.
dbfs:/databricks/unravel/unravel-db-sensor-archive/dbin/install-unravel.sh
Monitor clusters with Unravel
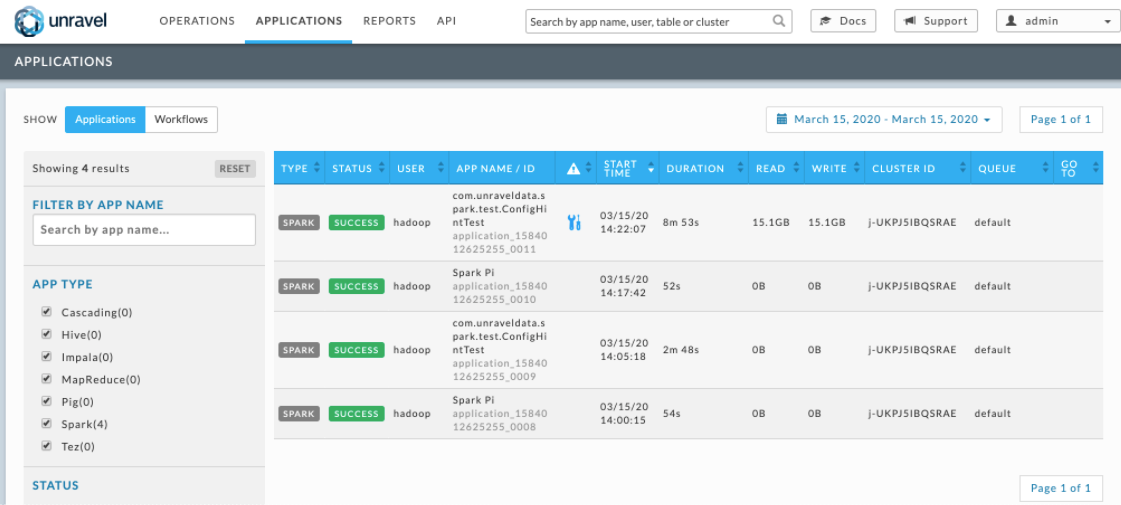
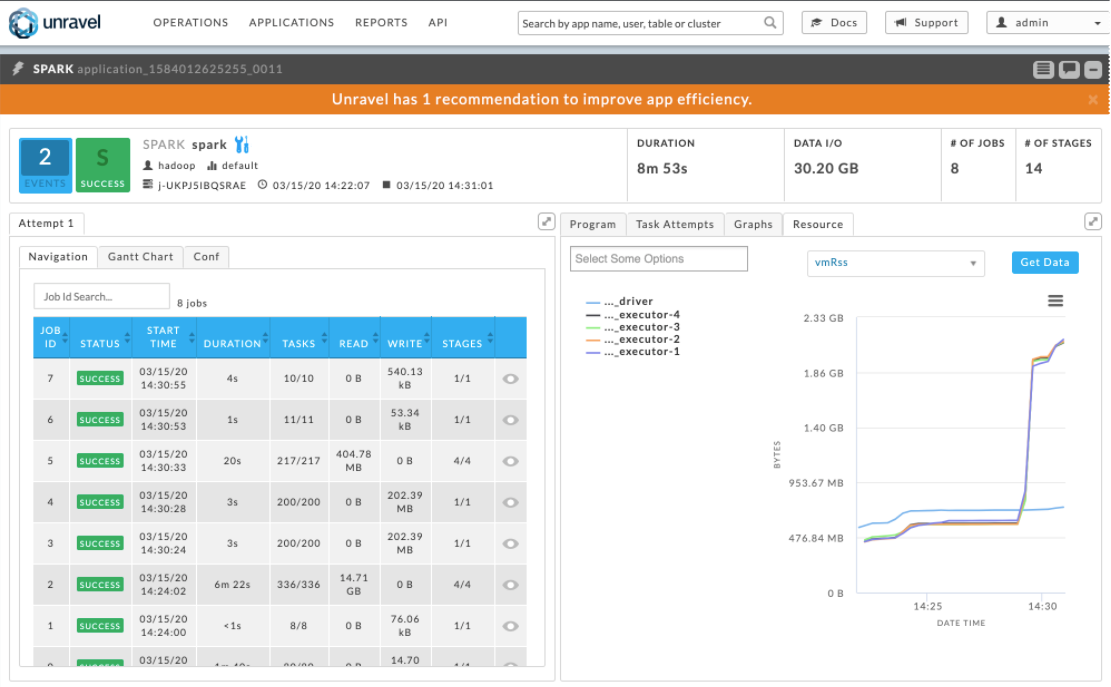
After your cluster is up and running. You can run some jobs, log on to Unravel, and monitor your applications.
Note
After every day, Unravel sends an Insight email that provides details about your cluster activities.
