Viewing AutoAction and its details
From the AutoActions page, you can add a new AutoAction and view a list of existing AutoActions.
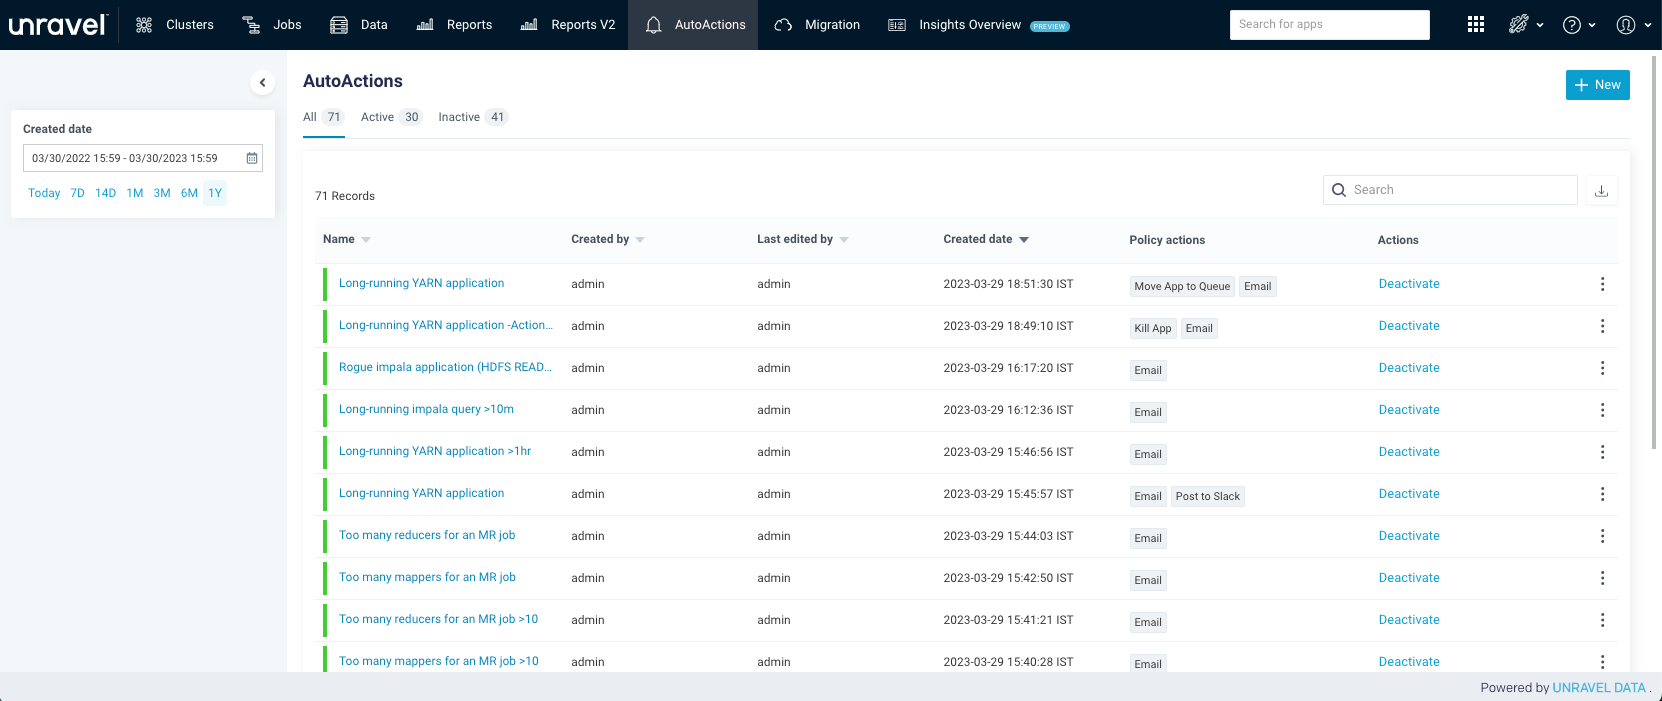
The AutoActions are listed in the following categories:
All: Lists all AutoActions (active and inactive).
Active: Lists all active AutoActions with a green
 bar adjacent to each AutoAction.
Inactive: List all inactive AutoActions with a grey
 bar adjacent to each AutoAction.
You can filter AutoActions based on Created Date. Select a date range to view the list of AutoActions. You can either specify a custom range or choose one of the date range options (Today, 7 days, 14 days, 1 month, 3 months, 6 months, 1 year)
The AutoActions page shows a table with the following columns:
Name: Lists the available AutoActions. Select the AutoAction name to view more details.
Created by: User who created an AutoAction
Last edited by: User who last modified the AutoAction
Created date: Latest timestamp and timezone when the AutoAction was created. The column is sorted by the latest created date and time.
Policy actions: Displays the name of the action to send an alert when the condition of the AutoAction policy is met. The actions are Email, HTTP Post, Slack, Move App to Queue, or Kill App.
Actions: Click the corresponding Activate or Deactivate link to activate or deactivate an AutoAction.
You can perform the following tasks from the AutoActions page:
Icons | Action |
|---|---|
 | Create a new AutoAction. See Creating AutoActions. |
 | Search for a specific AutoAction using its name |
| Download a list of AutoActions as a CSV file |
 | Click the toolbar next to each AutoAction name and perform the following actions:
|

Click the name link of the AutoAction to view the history of runs and the details of the applications that violated the policy.
