Part 1: Installing Unravel Server on CDH+CM
This topic explains how to deploy Unravel Server on Cloudera Distribution of Hadoop (CDH). Your CDH environment must be running Cloudera Manager (CM).
Important
If you have not already done so, confirm your cluster meets Unravel's CDH compatibility matrix hosting requirements.
1. Configure the host
Use Cloudera Manager to allocate a cluster gateway/edge/client host with HDFS access, and create a gateway configuration for the host. The gateway configuration must have client roles for HDFS, YARN, Spark, Hive, and optionally, Spark2.
3. Install Unravel
Download the Unravel Server RPM.
Ensure that the host machine's local disks have the minimum space required.
Unravel Server uses two separate disks: one for binaries (
/usr/local/unravel) and one for data (/srv/unravel). The separate disk/srv/unravelis beneficial for performance. If either of the disks do not have the minimum space required, create symbolic links for them to another disk drive.Tip
To check the space on a volume use the df command. For example,
df -h /srv
Install the Unravel Server RPM.
sudo rpm -Uvh unravel-
version.rpm
The installation creates the following items:
/usr/local/unravel/, which contains executables, scripts, properties file (unravel.properties), and logs./etc/init.d/unravel_*, which contains scripts for controlling services, such asunravel_all.shfor manually stopping, starting, and getting the status of all daemons in proper order.User
unravelif it doesn't exist already.
Run the following steps for installing Unravel Tarball:
The following section provides information about deploying Unravel binaries from a tar file. The Unravel binaries can be deployed in any directory on the server. The user who installs Unravel must have the write permissions to the directory where Unravel binaries are deployed.
To deploy Unravel binaries from a tar file, do the following:
Deploy Unravel from a tar file.
Create an Installation directory and grant ownership of the directory to the user who installs Unravel. This user executes all the processes involved in Unravel installation.
mkdir
/path/to/installation/directorychown -Rusername:groupname/path/to/installation/directoryDownload Unravel.
Extract the Unravel tar file to the installation directory, which was created as part of the prerequisite.
tar zxf unravel-<version>tar.gz -C /path/to/installation/directory
Run setup.
After deploying the Unravel binaries, run the setup command.
Run the following setup command:
<
installation_directory>/versions/4.6.x.x/setupFor example:
/opt/unravel/versions/4.6.1.6.659/setup --extra /tmp/mysql --external-database mysql localhost 3306 unravel_mysql_prod unravel unraveldata
Configure unravel using the following commands:
<unravel_installation_directory>/manager config auto
These will configure Unravel, start the daemons, and check the status of the daemon processes.
Note
Run --help with the setup command as well as with any combination of the setup command for the complete usage details.
<unravel_installation_directory>/versions/4.6.x.x/setup --help
<unravel_installation_directory>/manager/setup manager config auto --help
Verify Unravel installation.
Verify the Unravel sensor, properties, and files. Run the following command from the manager tool:
manager verify <sensor|properties|files>
sensor: Checks the cluster configuration and ensures that the sensor parameters are correct.
properties: Validates
unravel.properties, checking for invalid, unknown, duplicate properties.files: Verifies and reports on any unexpected changes to unravel components, scripts, and configuration.
Start all services and verify the status for all the services.
manager start
manager report
5. Configure Unravel Server with basic options
(Optional) Enable additional daemons for high-volume workloads.
In
/usr/local/unravel/etc/unravel.properties, set general properties for Unravel Server.Point Unravel Server to logs on HDFS.
Unravel collects HDFS logs for analysis. To point Unravel Server to these logs, set the following properties in
/usr/local/unravel/etc/unravel.properties:For example,
com.unraveldata.job.collector.done.log.base=/user/history/done
com.unraveldata.job.collector.log.aggregation.base=/tmp/logs
com.unraveldata.spark.eventlog.location=hdfs://user/spark/applicationHistory,hdfs://user/spark/spark2
To confirm that you have the right path, use the
hdfs dfs -lscommand. For example,hdfs dfs -ls /user/history/done hdfs dfs -ls /tmp/logs
If Kerberos is enabled, create or identify a principal and keytab for Unravel daemons to use for access to HDFS and the REST API.
If Sentry is enabled:
Create your own alternate principal with narrow privileges and HDFS access permissions.
Verify that the user running the Unravel daemon
/etc/unravel_ctlhas the permissions shown in the table below.Resource
Principal
Permission
Purpose
hdfs://user/spark/applicationHistoryYour alt principal
read+execute
Spark event log
hdfs://user/spark/spark2ApplicationHistoryYour alt principal
read+execute
Spark2 event log (if Spark2 is installed)
hdfs://user/historyYour alt principal
read+execute
MapReduce logs
hdfs://tmp/logsYour alt principal
read+execute
YARN aggregation folder
hdfs://user/hive/warehouseYour alt principal
read+execute
Obtain table partition sizes with "stat" only
If you are using a virus scanner
We recommend you disable your virus scanner from scanning the elasticsearch directories which are located under
/srv/unravel.
6. Change the run-as user and group for Unravel daemons
Unravel daemons run under the local user unravel by default. However, if you have Kerberos or Sentry enabled, or a non-Kerberos cluster with simple Unix security, or a different username for the Unravel user, or a non-local user such as an LDAP user, run switch_to_user.sh script to change the Unix owner and group of the Unravel daemons.
8. Start Unravel services
Run the following command to start all Unravel services:
sudo /etc/init.d/unravel_all.sh start
sleep 60
This completes the basic/core configuration.
9. Log into Unravel UI
Find the hostname of Unravel Server.
echo "http://$(hostname -f):3000/"
If you're using an SSH tunnel or HTTP proxy, you might need to make adjustments.
Using a supported web browser, (see Unravel's Databricks compatibility matrix), navigate to
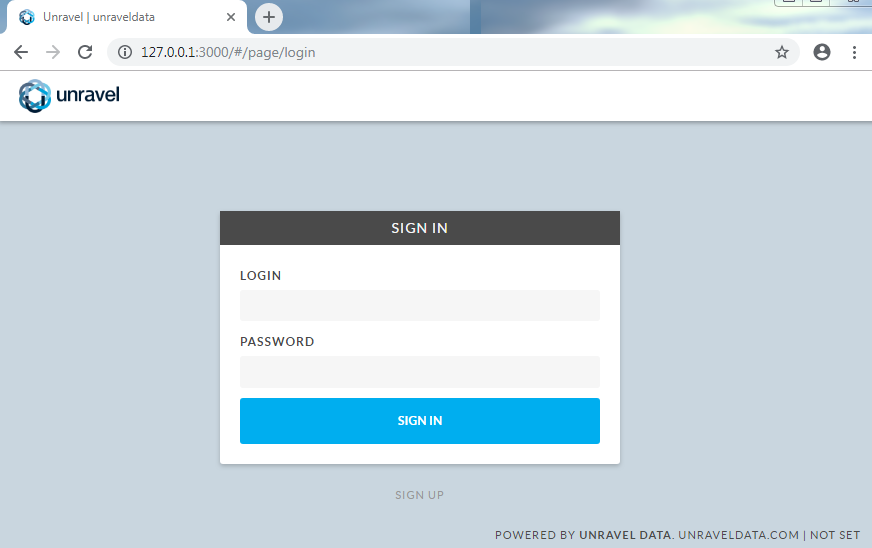
http://and log in with usernameunravel-host:3000adminwith passwordunraveldata.