Part 1: Installing Unravel Server on MapR
This topic explains how to deploy Unravel Server on the MapR converged data platform.
Important
If you have not already done so, confirm your cluster meets Unravel's MapR compatibility matrix hosting requirements.
1. Configure the host
Allocate a cluster gateway/edge/client host with HDFS access.
Enable the
hadoop fscommand, Hive, and Spark.Although Unravel Server doesn't launch Hive or Spark jobs, it's convenient to have Hive and Spark installed on this gateway/edge/client host.
Tip
For more information about the MapR client configuration, see MapR's configuration documentation.
Run the following commands this gateway/edge/client host as
root, substituting your site-specific values forname,cldb-list, andhistory-server.sudo yum install mapr-client.x86_64 sudo /opt/mapr/server/configure.sh -N
name-c -Ccldb-list-HShistory-serversudo yum install mapr-hive.noarch sudo yum install mapr-spark.noarch
Check/add/modify these MapR settings:
Run the following commands on Unravel Server as
root:sudo useradd -g mapr unravel hadoop fs -mkdir /user/unravel hadoop fs -chown unravel:mapr /user/unravel
Check/adjust available RAM on the Unravel gateway/client host:
free -g
For instructions on adjusting RAM allocated to MapR-FS (mfs), see https://community.mapr.com/docs/DOC-1209.
For example, edit
/opt/mapr/conf/warden.confas follows:service.command.mfs.heapsize.maxpercent=10
Restart the MapR File System (mfs).
/etc/init.d/mapr-mfs restart
3. Install Unravel Server on the host
Download the Unravel Server RPM.
Ensure that the host machine's local disks have the minimum space required.
Unravel Server uses two separate disks: one for binaries (
/usr/local/unravel) and one for data (/srv/unravel). The separate disk/srv/unravelis beneficial for performance. If either disk doesn't have the minimum space required, create symbolic links for them to another disk drive.Tip
Use the df command to check the space on a volume. For example,
df -h /srv
Install the Unravel Server RPM.
sudo rpm -Uvh unravel-
version.rpm
The installation creates the following items:
/usr/local/unravel/, which contains executables, scripts, properties file (unravel.properties), and logs./etc/init.d/unravel_*, which contains scripts for controlling services, such asunravel_all.shfor manually stopping, starting, and getting the status of all daemons in proper order.User
unravelif it doesn't exist already.
5. Export MapR ticket
If MapR tickets are enabled, make sure you have tickets for users unravel and mapr on the target host.
You may need to export ticket environment variables (such as MAPR_TICKETFILE_LOCATION) in /srv/unravel/unravel_ctl first.
For example:
[root@wnode55 ~]# cat /srv/unravel/unravel_ctl
export RUN_AS=mapr
export USE_GROUP=mapr
export MAPR_TICKETFILE_LOCATION=/tmp/maprticket_5000
[root@wnode55 ~]#
6. Modify Unravel Server for MapR
Open switch_to_mapr.sh script:
vi /usr/local/unravel/install_bin/switch_to_mapr.sh
Validate and edit the following paths in the switch_to_mapr.sh script if required:
MAPR_LOGIN_CONF=/opt/mapr/conf/mapr.login.conf
HADOOP_CONF_DIR=/opt/mapr/hadoop/hadoop-2.7.0/etc/hadoop
SPARK_CONF_DIR=/opt/mapr/spark/spark-2.2.1/conf
HIVE_CONF_DIR=/opt/mapr/hive/hive-2.1/conf
MAPR_TICKETFILE_LOCATION=/tmp/maprticket_$(id -u $RUN_AS)
Run the following commands on Unravel Server.
sudo /etc/init.d/unravel_all.sh stop
sudo /usr/local/unravel/install_bin/switch_to_mapr.sh
Note
This change is persistent; you need not do this when you upgrade the RPM.
7. Configure Unravel Server with basic options
(Optional) Enable additional daemons for high-volume workloads.
In
/usr/local/unravel/etc/unravel.properties, set general properties for Unravel Server.Point Unravel Server to logs on HDFS.
Unravel collects HDFS logs for analysis. To point Unravel Server to these logs, set the following properties in
/usr/local/unravel/etc/unravel.properties:If the Application Timeline Server (ATS) requires user authentication, set the following properties:
Connect to the Oozie server by setting oozie.server.url.
Enable https access to Resource Manager by setting https.protocol.
Define the monitoring frequency.
If Kerberos is enabled, add authentication for HDFS:
Create or identify a principal and keytab for Unravel daemons to access HDFS and REST when Kerberos is enabled.
Find and verify the principal keytab by running this command:
klist -kt KEYTAB_FILE
Note
Set the Linux file permissions of the keytab file to 500 (
chmod 500) and set its owner set tounravelor to your chosen user, as explained in Run Unravel Daemons with Custom User.In
/usr/local/unravel/etc/unravel.properties, add/set these properties for Kerberos:com.unraveldata.kerberos.principal=unravel/
my-host.my-domain@my-realmcom.unraveldata.kerberos.keytab.path=/usr/local/unravel/etc/unravel.keytab
If Sentry is enabled, add these permissions:
Define your own alt principal with narrow privileges and the access permissions shown in the table below.
The alt principal can be
unravel(default) or one of your choosing. The corresponding kerberos principal does not need to be the same as the local user.Verify that the user running the Unravel daemon
/etc/unravel_ctlhas the access permissions shown in the table below.Resource
Principal
Access
Purpose
hdfs://user/spark/applicationHistorymapror alternateread+execute
Spark event log
hdfs://usr/history/donemapror alternateread+execute
MapReduce logs
hdfs://tmp/logsmapror alternateread+execute
YARN aggregation folder
hdfs://user/hive/warehousemapror alternateread+execute
Obtain table partition sizes
Hive Metastore accesshiveread+execute
Hive table information
8. Change the run-as user and group for Unravel daemons
10. Start Unravel services
Run the following command to start all Unravel services:
sudo /etc/init.d/unravel_all.sh start
sleep 60
This completes the basic/core configuration.
11. Log into Unravel UI
Find the hostname of Unravel Server.
echo "http://$(hostname -f):3000/"
If you're using an SSH tunnel or HTTP proxy, you might need to make adjustments.
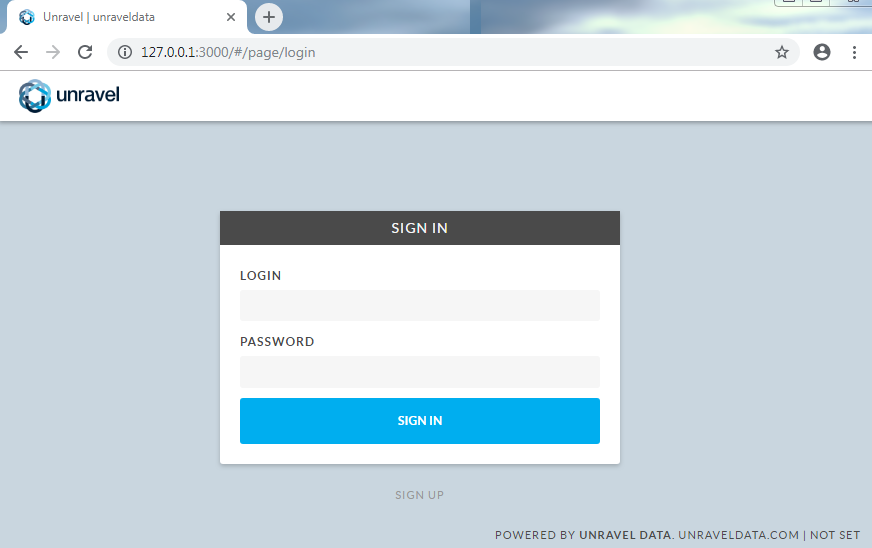
Using a supported web browser (see Unravel's MapR compatibility matrix, navigate to
http://and log in with usernameunravel-host:3000adminwith passwordunraveldata.
Unravel UI displays the collected data.